My house was built when plaster was the only option. Three coats over wood lath, an inch thick in places, with horsehair in the base coat. It is quiet, it is solid, and it is the single biggest reason I do not have in-ceiling speakers.
I priced it. Every installer I spoke with gave a different version of the same answer: cutting plaster ceilings means cracking, fishing wire through 100-year-old framing means surprises, and a clean patch costs as much as the speakers. One quote for four rooms was more than my entire eventual system.
So I built whole house audio the other way: music in every room without cutting a single wall. This post is the plan I used, what I put in each room, how I hid the few wires I needed, and where I would spend money if I did it again. If you want the full menu of platforms first, start with my best whole home audio systems guide. This is the old-house version of that decision.
The rule that makes old houses easy: every room stands alone
Traditional whole house audio is a star. One amplifier rack in a closet or basement, and a pair of speaker wires running from it to every room. That design is great in new construction, where the walls are open and wire is cheap. In an old house it is the expensive part. Every one of those runs has to cross floors, dodge fire blocking, and come out somewhere you can patch.
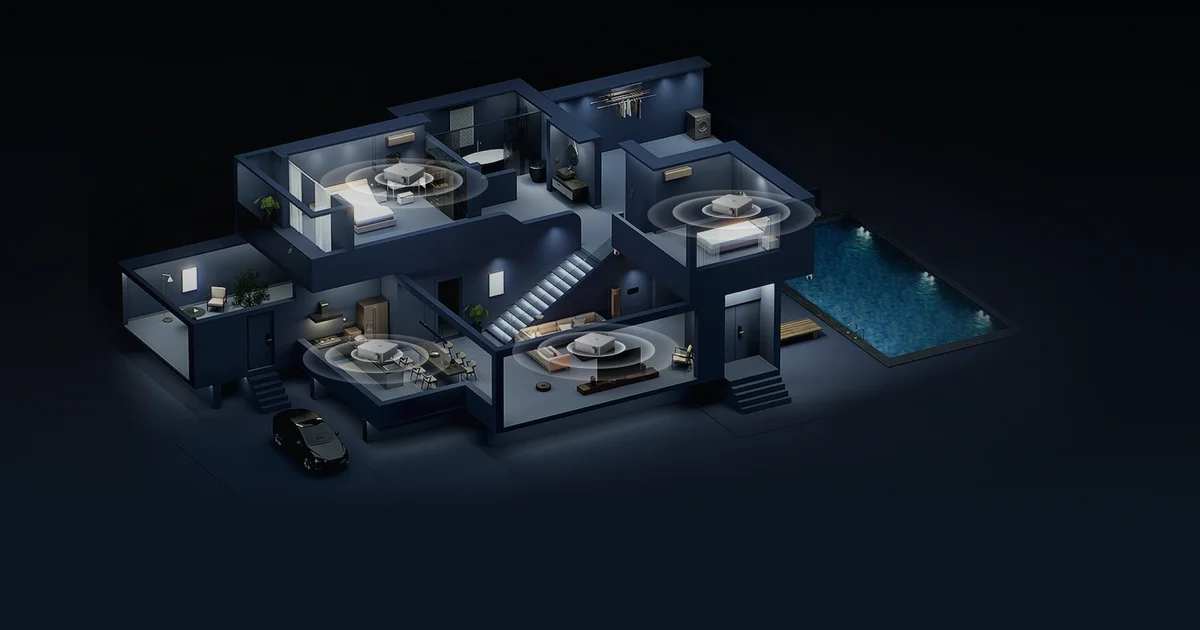
The alternative is to flip it. Instead of one central amp and long wire runs, each room gets its own small streamer and its own amplification, plugged into a nearby outlet. The only thing that crosses the house is your network. No wire travels between floors. Nothing goes inside a wall.
That is exactly what modern streaming hardware is built for. A WiiM Amp is a network streamer and amplifier in a box smaller than a hardback book. A pair of powered speakers with a WiiM Pro Plus or a built-in streamer does the same job. The app groups rooms together, so the whole house plays in sync when you want it to and stays independent when you do not.
Room by room: what I actually put where
Here is how it shook out in a two-story house with a finished attic and a basement.
Living room: passive bookshelf speakers and a WiiM Amp
This is the room where sound quality matters most and where I have a real piece of furniture to put things on. A WiiM Amp drives a pair of ELAC Debut DB63 bookshelf speakers on stands. The amp sits on the media console, plugs into the wall, and connects by Ethernet. The speaker wire runs eight feet behind the console and along the baseboard. Total holes in plaster: zero.
If you want the long version of how I would plan this room on different budgets, I covered it in the WiiM whole house audio build.
Kitchen: powered speakers on a shelf
Kitchens in old houses are rarely set up for speakers. Mine has open shelving and very little counter. A pair of compact Edifier MR4 powered monitors sits on the top shelf, fed by a WiiM streamer. The MR4 has its amp built in, so there is just a power cable and a short interconnect, both hidden behind a jar of rice. They are not audiophile speakers. They are clear, cheap, and loud enough to cook to.
Dining room: an all-in-one
Some rooms do not justify a pair of speakers and a streamer. The dining room gets a single smart speaker on the sideboard. It joins the group for dinner parties and otherwise stays off. I would rather spend the money where people actually listen.
Bedrooms: one speaker or a small pair
Bedrooms need less volume and more simplicity. A small pair of powered speakers or one all-in-one speaker with a streamer is plenty. The test is whether someone half asleep can turn it off without an app. Physical volume knobs are underrated here.
Upstairs office: Kanto YU6
My office gets the Kanto YU6, a powered pair with Bluetooth, a phono input, and enough inputs that the computer and a streamer can share it. It sounds bigger than its size, and nothing about it needed the walls opened.
Hiding the few wires you do need
“No holes” does not mean “no wire.” Passive speakers need speaker cable, and you will want power and maybe Ethernet near every streamer. Old houses are actually good at hiding wire if you know where to look:
- Behind baseboards. Tall old baseboards often sit a little proud of the plaster, leaving a gap you can tuck 16 gauge speaker wire into. Pry gently, tuck, and press back.
- Along picture rail and crown molding. Many older rooms have picture rail a foot below the ceiling. A wire laid on top is invisible from the floor and perfect for reaching a speaker high on a wall.
- Door and window casing. Run along the edge of the trim, then paint the wire the trim color.
- Paintable surface raceway. For any run that has to cross bare plaster, a paintable cord cover painted to match disappears better than you expect. Use the adhesive version, not screws; plaster hates screws near edges.
- Flat adhesive speaker wire. Flat speaker wire sticks to the wall and takes paint. It is the right call for a short run to a wall-mounted pair.
What I do not do is use command strips for the speakers themselves on plaster. Heavy speakers belong on shelves, stands, or brackets screwed into a stud, never into lath alone.
The network is the real backbone
When every room stands alone, your network is doing the job a bundle of speaker wire used to do. That means it needs to be boring and reliable.
Old houses are hard on Wi-Fi. Plaster and lath with metal mesh in some walls can block signal like a Faraday cage, and a single router in the basement will leave the attic in silence. Three things fixed it for me:
- A mesh system with wired backhaul where possible. Even one Ethernet run, often possible up through an old laundry chute or along a heating pipe chase, makes the whole mesh faster.
- Ethernet to the streamers that matter. The living room amp is wired. Wired streamers never drop out of a group.
- Fixed IP addresses for every streamer. It makes troubleshooting and Home Assistant control far easier.
I covered all of this in much more depth in whole home audio network reliability and the WiiM multi-room network plan. If your groups drop out at random, start there before blaming the speakers.
When in-ceiling still makes sense
I am not anti in-ceiling. There are three cases where I would do it even in a plaster house:
- The ceiling is already open. Kitchen remodels, electrical upgrades, or water damage repair. Run the wire while the hole exists, even if you install the speakers later.
- A room with no furniture surfaces. Bathrooms and narrow hallways have nowhere to put a speaker.
- Outdoor speakers on a porch ceiling. Porch ceilings are often beadboard, not plaster, and easy to open.
For those rooms, my best in-ceiling speakers for whole house audio guide covers the picks. And if your house came with abandoned in-ceiling speakers from a previous owner, reusing old in-ceiling speakers shows how to bring them back with a streaming amp.
What it cost versus the in-ceiling quote
Rough numbers for my six zones, at typical street prices rather than any single sale:
| Room | Gear | Approx. cost |
|---|---|---|
| Living room | WiiM Amp + ELAC DB63 + stands | $650 |
| Kitchen | WiiM streamer + Edifier MR4 | $250 |
| Dining room | One smart speaker | $100 to $200 |
| Two bedrooms | Small powered pair or all-in-one each | $300 to $400 |
| Office | Kanto YU6 + streamer | $500 |
| Wire, raceway, paint | Shared | $60 |
Call it $1,900 to $2,100 for six independent zones, every one of which I can move, upgrade, or sell. The in-ceiling quote for just four rooms, with plaster repair, was well past that, and those speakers would have been permanent. My whole house audio cost per room breakdown goes deeper on how these numbers move with different platforms.
Mistakes I made so you do not have to
- I bought one more streamer brand than I needed. Mixing platforms means two apps and groups that cannot talk to each other. Pick one ecosystem for every zone and stay there. My Sonos vs HEOS vs WiiM comparison is the shortcut.
- I put the first kitchen speakers too low. At counter height, every pot and person blocks them. Higher is better in busy rooms.
- I skipped Ethernet to the living room at first. It was the one zone that dropped out of groups. One cable fixed it permanently.
- I tried to save money on stands. Bookshelf speakers on a wobbly side table sound boomy and thin at the same time. Cheap stands at ear height are the best $80 in the living room.
The Bottom Line
If you live in a plaster-walled old house, do not let in-ceiling speakers be the default plan. Make every room stand alone: a small streamer and either powered speakers or a WiiM Amp with passive bookshelf speakers, plugged in locally, joined together over a solid network. You get real multi-room sync, better sound per dollar, and zero plaster dust.
Spend your money on the network first, the room you actually listen in second, and good speakers third. Open a ceiling only when it is already open for some other reason. Start with my best whole home audio systems guide to pick the platform, then come back here to fit it to an old house.