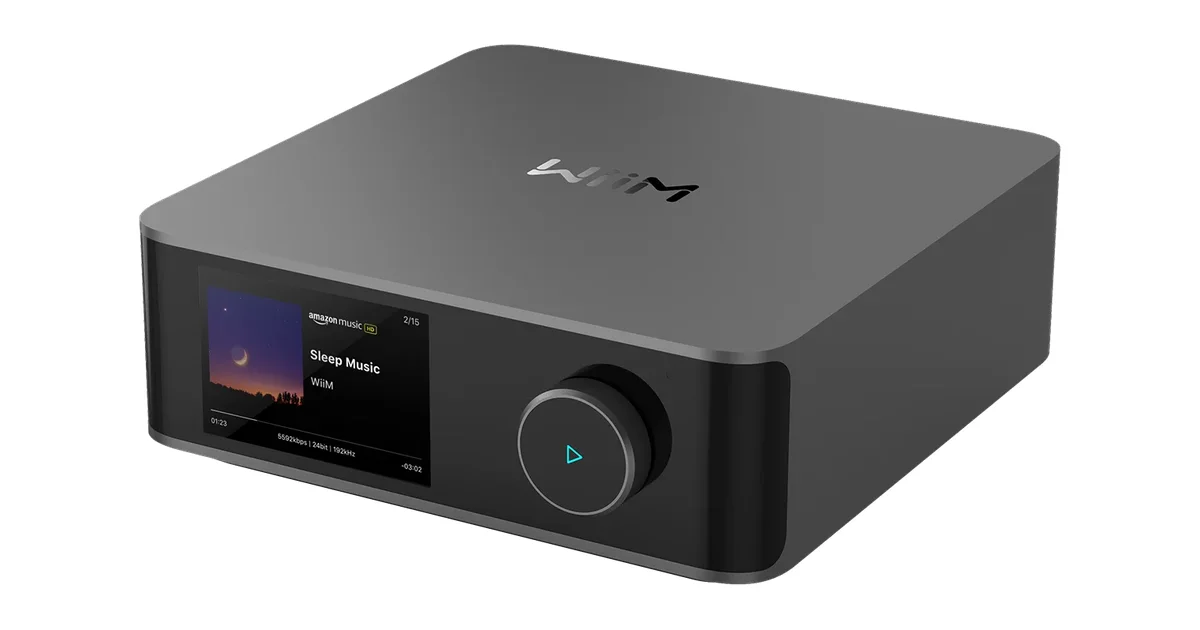
Whole house audio has a reputation problem. People assume it means either a rack of professional gear installed by a custom integrator, or a pile of Sonos boxes and a credit card statement to match. Neither is true anymore. In 2026 you can build a proper multi-room system, room by room, on your own schedule, using WiiM streamers and amps as the backbone. It sounds better than Sonos per dollar, it does not lock you into one company’s ecosystem, and you can start with a single room and grow.
I built my own house out this way over about a year, one zone at a time, and I want to walk you through exactly how to do it: what each room needs, what it costs, and where to spend versus save. If you want the high-level comparison of systems first, my best whole house audio systems guide pits WiiM against Sonos, Juke, and HEOS. This post is the hands-on build.
The core idea: one WiiM per zone
A whole house audio system is just a collection of zones that can play independently or in sync. With WiiM, each zone is one device. There are two you need to know:
WiiM Amp. This is the workhorse. It is a streamer and a 60-watt-per-channel amplifier in one small box. You wire passive speakers straight to it, add power and network, and that room is done. Most of your wired zones will be a WiiM Amp plus a pair of speakers. It is around $299.
WiiM Pro Plus. This is a streamer only, no amplifier. Use it to feed an existing stereo, a receiver, or a set of powered speakers you already own. It has an excellent DAC and analog outputs, so it is also the right pick for your main listening room where you want a separate high-quality amp. Around $219.
Both show up as zones in the WiiM Home app, and both support AirPlay 2, Chromecast, Spotify Connect, Tidal Connect, and DLNA. That protocol breadth is the quiet superpower here: unlike Sonos, you are never locked out of a service because it does not speak the vendor’s language. Any phone in the house can cast to any zone.
Step 1: start with your main listening room
Do not start by wiring the whole house. Start with the room where you actually sit and listen, because that is where sound quality matters most and where you will learn the system.
For this room I use a WiiM Pro Plus feeding a proper stereo amp and real bookshelf speakers. If you want simplicity, a WiiM Amp and a good pair of passive speakers like the Micca RB42 or something from my best passive bookshelf speakers under 500 guide gets you 90 percent of the way for far less fuss. Get this room sounding great and grouping working before you add anything else. Around $450 to $600 all in depending on speakers.
Step 2: add wired zones with in-ceiling speakers
Once the main room works, expand into the rooms where you want music but not a pair of visible bookshelf speakers: kitchen, bathrooms, patio, hallway. This is where in-ceiling speakers shine. A single WiiM Amp can drive one pair of 6.5-inch in-ceiling speakers, and because the Amp does 60 watts per channel it has plenty of headroom for a normal-sized room.
The wiring is the only real labor. Run 16-gauge speaker wire from wherever you place the WiiM Amp to each speaker location. In new construction or a remodel this is trivial. In an existing home you are fishing wire through the attic and down walls, which is a weekend job per zone if you have attic access. Put the WiiM Amp somewhere central and ventilated, like a closet or a media shelf, and label your wire runs.
Budget roughly $299 for the WiiM Amp plus $80 to $150 for a decent pair of in-ceiling speakers, so $380 to $450 per wired zone. That is dramatically less than $700 per zone for a Sonos Amp before you even add speakers.
Step 3: fill low-priority rooms cheaply
Not every room deserves a real amp. Guest bedrooms, a garage, a laundry room, the kids’ rooms all just need background sound and the ability to join a house-wide group. For these, a WiiM Pro Plus into a cheap pair of powered speakers, or even a single powered speaker, is plenty. You can also mix in an existing powered soundbar or desktop speakers you already own.
The point of these zones is coverage, not fidelity. Spend $50 to $150 each, get them on the network, and they will group with everything else when you hit play-everywhere. This tiered approach, spend where you listen and save where you do not, is the whole reason a WiiM build beats a uniform Sonos install. For the budget end of this strategy, my cheap whole home audio guide goes deeper on stretching each dollar.
Step 4: grouping, sync, and daily use
The payoff is grouping. In the WiiM Home app you drag one zone onto another to link them, and they play in tight, drift-free sync. Make a group of every zone and save it, and you have a one-tap play-everywhere button for parties or cleaning the house. Ungroup to run the game in the living room while the kitchen plays something else.
Because every zone speaks AirPlay 2 and Chromecast, anyone in the house can cast from their own phone without installing a special app or being added to an account. That is a genuinely different experience from Sonos, where the app is the gatekeeper. Voice works too if you want it: WiiM zones expose as media players you can trigger from a smart speaker or, better for the local-first crowd, from Home Assistant.
One real tip: put every WiiM device on a solid 5 GHz network or, better, wire the ones you can with Ethernet. Multi-room sync is only as tight as your network, and a flaky access point is the one thing that will make grouped playback stutter. This is the same lesson every multi-room owner eventually learns.
Room EQ: the free upgrade
One thing WiiM does that Sonos gates behind hardware and Juke does not do at all: per-zone room correction, for free, from your phone. The WiiM Home app has a built-in room EQ that plays test tones, measures the response with your phone’s microphone, and applies a correction curve to that zone. It is not as precise as a full REW and UMIK-1 measurement, but it is genuinely good, and it costs nothing.
The reason this matters for whole house audio is that your zones live in wildly different acoustic spaces. A tiled bathroom is bright and echoey, a carpeted bedroom is dead, a kitchen with hard surfaces booms. Running the room EQ in each zone evens them out so the same track sounds tonally consistent as you walk through the house. Do it once per zone when you install it and forget about it.
For your main listening room, take the extra step and measure with a proper microphone. The parametric EQ in the WiiM app accepts manual filters, so you can dial in a measured correction that rivals gear costing far more. This is the kind of tuning that separates a system that plays music from one that sounds right, and it is built into hardware you already bought.
What it actually costs
A realistic four-zone house, one main listening room, two wired in-ceiling zones, and one background zone, lands around $1,400 to $1,800 including speakers and wire. The same four zones of Sonos Amp with comparable speakers is well past $3,500. Even if you value the polish of Sonos, that is a big gap, and the WiiM system sounds as good or better in every wired zone because you chose the speakers.
You also get to grow at your own pace. Add a zone when a room bothers you enough, not all at once. Nothing here is proprietary, so a WiiM Amp bought this year works alongside one bought three years from now.
The Bottom Line
You do not need Sonos money or a custom installer to have music in every room. A WiiM-based whole house audio system gives you independent and grouped playback, open casting from any phone, and genuinely good sound, for roughly half the cost of the closed alternatives. Start with your main listening room using a WiiM Amp or WiiM Pro Plus, add wired zones with in-ceiling speakers as budget allows, and fill the rest cheaply. Build it one room at a time and in a year you will have a system that beats anything off the shelf, without ever paying the ecosystem tax. For the full landscape of systems, start at my best whole house audio systems guide, then come back here to build.