The fastest way to underbudget whole house audio is to count speakers. The useful number is zones: rooms or groups that need independent playback and volume. A kitchen with two ceiling speakers is one zone. A living room with a stereo pair and a patio that sometimes groups with it is two zones.
That distinction changes the shopping list, the wiring, the network, and the labor. My whole house audio system comparison covers platform choices. This guide is the budget worksheet I wish more buying guides included: what each room actually costs, what labor adds, and where a hybrid system beats an ideological all-wired or all-wireless plan.
Define the Zone Before You Price It
Write down the rooms, whether each needs independent volume, and whether each needs a separate source. A hallway and kitchen may share background music. A living room and office usually should not share volume control. A bathroom may need a small, simple endpoint rather than the same high-performance system used for serious listening.
For every zone, list four things: speakers, amplifier, streamer, and installation. A powered all-in-one speaker combines the last three hardware roles. A passive ceiling pair needs an amplifier and a way to receive music. An existing receiver may already solve amplification, leaving only a streamer.
That inventory prevents the classic price error. Someone sees a 300 dollar streaming amplifier and calls the room done, then discovers the project still needs speaker wire, a wall plate, ceiling speakers, an electrical box, and a way to reach the cable route. Hardware prices are easy to search. Access is where the budget moves.
Four Budget Tiers That Actually Mean Different Things
Tier 1: Smart speakers for background audio
The low-cost path is one wireless smart speaker per room. At roughly 25 to 250 dollars per room, it is the easiest way to put music everywhere. Setup is fast, there is no speaker wire, and voice control is familiar. The tradeoff is platform dependence, modest sound, and less flexibility with local sources.
This is a good fit for bedrooms, bathrooms, and rooms where the main goal is background music. It is a poor fit if you want a built-in look, serious stereo imaging, a local-first system, or a platform that can survive a cloud-service change. A cheap room is not a failure if it is intentionally a cheap room.
Tier 2: Wireless speakers with a shared platform
Sonos and similar systems generally land around 250 to 700 dollars per zone before stands, mounts, or a larger premium model. A Sonos Era 100 is a sensible reference point for a compact wireless zone. The cost buys a polished experience, consistent grouping, and easy expansion.
The budget grows quickly because every room contains a complete network speaker. A four-room system can pass 1,000 dollars before accessories, and the rooms still need power near each endpoint. You also need to think about what happens if the platform changes its app, account requirements, or support policy.
Tier 3: WiiM with passive speakers
A passive zone gives you more choice. A WiiM Amp supplies streaming and amplification for a pair of passive speakers, while a WiiM Pro Plus makes sense when an existing receiver already drives the speakers.
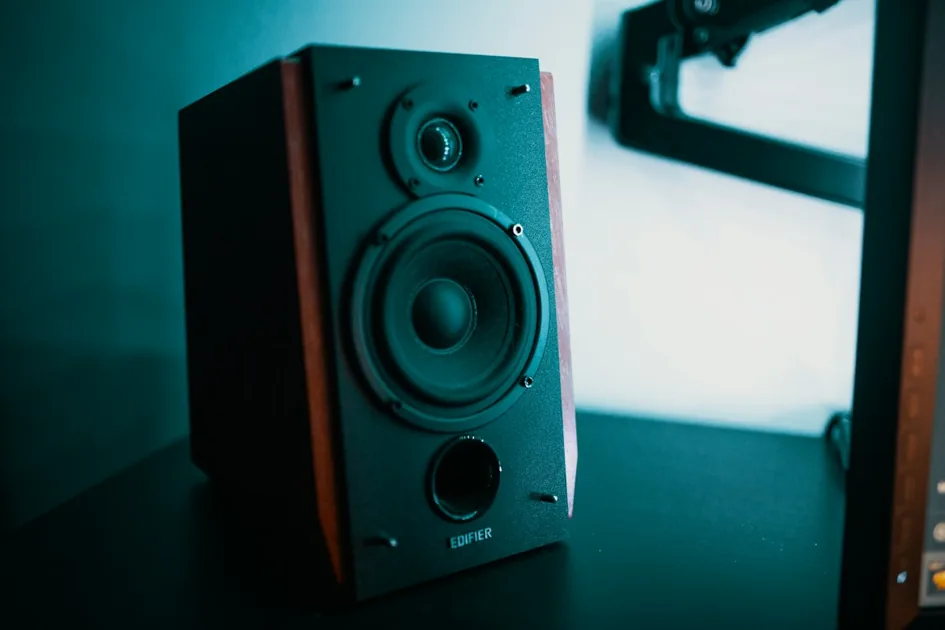
For a normal room, I budget roughly 300 dollars for the streamer or amplifier, 150 to 500 dollars for speakers, and 25 to 100 dollars for wire, wall plates, and small hardware. That puts a passive WiiM zone around 475 to 900 dollars before labor. Bookshelf speakers on furniture can be cheaper to install. Ceiling speakers add access, trim, and sometimes electrical work.
The advantage is not only sound. The amplifier can be replaced without replacing the speakers, and the speaker choice remains yours. The disadvantage is that the project has more separate parts and more opportunities for a bad installation decision.
Tier 4: Centralized wired multi-zone audio
A centralized system puts amplifiers in a rack or cabinet and runs speaker wire to each zone. It is attractive for new construction or a renovation when walls and ceilings are already accessible. The hardware cost can be efficient at scale, but cable paths, labor, rack space, and controls become part of the project.
For several zones, I would start planning in the low thousands rather than pretending that a per-room speaker price describes the installation. A four-zone system with decent in-ceiling speakers, amplification, wire, controls, and professional labor can easily land around 2,500 to 6,000 dollars. Difficult access, premium speakers, structured wiring, and a larger rack can push it higher.
The important economic point is timing. Adding wire during a remodel may be inexpensive compared with opening finished ceilings later. Centralized audio is not automatically cheap; it is cheapest when the house is already giving you access.
The Hybrid Plan Is Usually the Sensible One
I would not make every room follow one technology. Wire the rooms that are open, permanent, or important. Use wireless speakers in finished rooms where cable access would damage the house. Use an existing receiver where it already works. Put a small all-in-one speaker in the bathroom instead of spending a weekend engineering a ceiling zone nobody asked for.
A hybrid plan can still feel like one system if the zones share a playback platform. A WiiM Amp can serve a wired passive room while a compatible wireless zone handles a finished bedroom. My WiiM and Home Assistant guide covers grouping and control details. The design goal is a common household experience, not identical hardware in every room.
Start with the rooms where wiring has the highest value: living room, kitchen, outdoor covered area, and any room already being remodeled. Add wireless endpoints elsewhere. This keeps the expensive construction work focused on rooms that benefit from permanent speakers and keeps future expansion possible.
The Costs People Forget
Installation access
Cable is cheap compared with labor. An accessible attic or basement may make a wire run straightforward. A finished ceiling, fire block, insulation, masonry, or a second-story exterior wall can turn the same run into the most expensive part of the room. Get the installer to describe the path, not just the endpoint.
If you are doing the work yourself, budget for fish tape, drill bits, low-voltage boxes, patching supplies, and the time to repair mistakes. Do not run speaker cable through a route that violates electrical or fire-blocking requirements. A low-voltage project still needs to respect the building.
Power and serviceability
Every powered zone needs an outlet. A wireless speaker beside a convenient outlet is easy. A ceiling amplifier hidden where nobody can reach it is a service problem. A WiiM Amp should remain accessible enough to reboot, replace, and inspect. Do not bury the only network and power connection above a finished ceiling because the first installation looked tidy.
Centralized systems need a rack, ventilation, power distribution, and cable labeling. A small audio install can share a structured wiring cabinet, but heat and access still matter. Leave room for the next zone instead of filling the cabinet on day one.
Network changes
Whole-house audio is also a network project. Fixed players benefit from Ethernet when it is practical. Wireless players need real coverage in their final locations, not just a strong phone signal in the hallway. Discovery may require multicast traffic, and guest-network isolation can make a player visible in one app but invisible to Home Assistant.
My network rules for whole-home audio cover discovery, VLANs, DHCP reservations, and outage testing. Include this work in the budget if the existing network is already marginal. Replacing an audio platform because the access point cannot reach the room is an expensive diagnosis.
Controls and household use
A wall-mounted control, simple dashboard, or familiar app can be worth more than a slightly better speaker. Decide whether people will use voice, phone apps, Home Assistant, physical buttons, or some combination. A system that sounds great but requires the installer’s phone is not finished.
I keep Home Assistant as a useful common control surface, but I preserve the native player app as a fallback. Scenes should set volume deliberately, and announcements should not permanently destroy the music state. Those are small configuration details, but they determine whether the household accepts the system.
A Four-Room Example
Here is a realistic hybrid starting point for four zones:
- Living room: WiiM Amp, passive bookshelf speakers, and Ethernet if available. Plan roughly 500 to 1,000 dollars depending on the speakers.
- Kitchen: Two in-ceiling speakers with a wired amplifier or a compact streaming amp. Plan roughly 600 to 1,200 dollars including access and trim.
- Bedroom: One wireless speaker. Plan roughly 100 to 300 dollars.
- Patio: A powered outdoor-friendly endpoint or a wired zone if cable access already exists. Plan roughly 200 to 900 dollars.
That puts the hardware and installation range somewhere around 1,400 to 3,400 dollars before premium construction work. The range is wide because a speaker on a shelf and a pair of ceiling speakers are not the same installation. It is still a more useful estimate than multiplying one speaker price by four.
If the house is being remodeled, I would spend the incremental money on wire and accessible backboxes for the living room, kitchen, and patio. If the house is finished, I would start with wireless rooms and add a wired zone only where the sound or appearance justifies the disruption.
How to Keep the Project From Growing Forever
Build one zone completely before ordering the rest. Confirm the sound, app, Home Assistant discovery, grouping, source behavior, and restart recovery. If the first zone is frustrating, multiplying it creates a larger frustrating system.
Use a standard for each room. For example, every passive zone gets labeled speaker wire, an accessible amplifier, a reserved network address, and a room name. Every wireless zone gets a measured WiFi path and a known outlet. Consistency reduces future troubleshooting.
Set a stopping point. Whole-house audio can absorb unlimited upgrades: better speakers, more sources, hidden controls, acoustic treatment, and a larger rack. Decide what success means for the family before chasing the last five percent of sound quality. Background music, clear television sound, and simple room control may be the correct target.
The Bottom Line
Budget whole house audio by zone and installation path, not by the number printed on a speaker box. Smart speakers are the cheapest entry point. Wireless platforms are the easiest polished retrofit. WiiM plus passive speakers gives the best balance of flexibility and sound for many rooms. Centralized wired audio makes the most sense when construction access is already available.
My default plan is hybrid: wire the rooms that matter and are accessible, use wireless endpoints where cable would be destructive, and keep every zone on a platform the household can operate. Count the missing pieces before buying the first amplifier, test one room end to end, and reserve part of the budget for access, network reliability, and serviceability. Those are the costs that decide whether whole-house audio feels like an upgrade or an unfinished project.