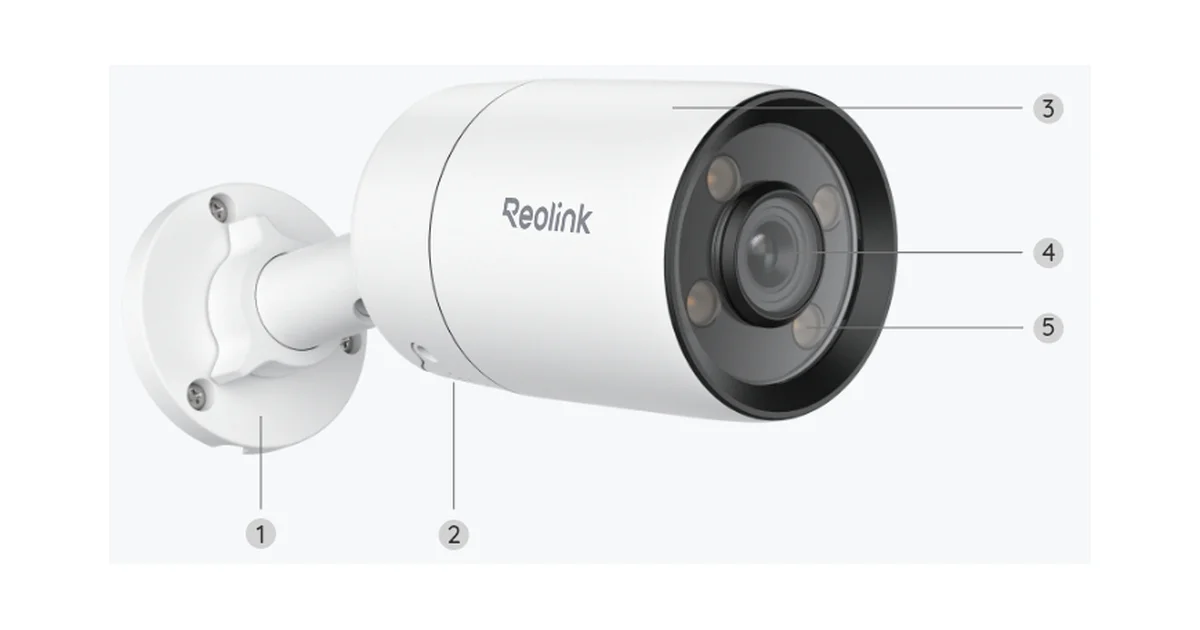
Every Reolink camera I own can see my driveway, my yard, and the side door. None of them can see the internet. They have not been able to for two years, and Home Assistant, Frigate, and the Reolink app on my phone all still work.
This setup comes up constantly on r/homeassistant: “How do I stop my cameras calling home?” The answer is always “put them on a VLAN,” which is correct and also useless if you have never written a firewall rule. So here is the whole thing, the way I actually run it, including the parts that break when you do it naively: time sync, snapshots, firmware updates, and the phone app.
If you are still picking cameras, start with my best outdoor security cameras for Home Assistant guide. Everything below assumes wired PoE cameras like the Reolink RLC-811A, RLC-823A, or CX410.
Why Bother Isolating Cameras at All
I like Reolink hardware. The image quality per dollar is excellent, the cameras do person and vehicle detection on board, and the Home Assistant integration is one of the best camera integrations in the ecosystem. None of that requires the camera to talk to anyone but me.
Out of the box, a Reolink camera on your main network will try to reach Reolink’s P2P relay servers, check for firmware, sync time from public NTP, and, if you enable it, push notifications through the cloud. That is not unusual for a camera, and I am not claiming Reolink does anything sinister with it. My rule is simpler: a device with a microphone and a view of my kids’ bedroom windows gets the minimum network access it needs to do its job, and its job is local.
There is also a boring security reason. Cameras are small Linux boxes that get firmware updates rarely and run them for years. If one is ever compromised, I want it stuck on a network segment where the only thing it can reach is time and DNS. A flat home network lets a bad camera reach your NAS, your laptop, and your Home Assistant box. A camera VLAN does not.
The Gear You Need
You do not need enterprise kit for this. You need three things:
- A router or firewall that does VLANs and inter-VLAN rules. UniFi gateways, OPNsense, pfSense, MikroTik, Firewalla, and most prosumer routers can do it. Consumer mesh systems from ISPs usually cannot. I run OPNsense on a small fanless box; my OPNsense Protectli firewall build covers that side. Any VLAN-capable firewall router works.
- A managed PoE switch. It has to power the cameras and tag their ports into the camera VLAN. A managed 8-port PoE switch with VLAN support is plenty for most houses. Check the PoE budget first; my PoE camera power budget guide shows how fast IR at night eats into it, and my best PoE switch for home lab roundup has specific picks.
- Wired cameras. Wi-Fi cameras can live on a camera VLAN through a dedicated SSID, but PoE is more reliable and simpler to lock down. I use Reolink PoE cameras throughout, run on outdoor Cat6.
You also need to know where Home Assistant and Frigate live. In my house both sit on a server VLAN. That matters because the firewall rules are written in terms of “which host may talk to the cameras,” not “which VLAN.”
Step 1: Plan the Addresses Before Touching Anything
I use a dedicated subnet with no other devices on it:
| Network | VLAN ID | Subnet | What lives there |
|---|---|---|---|
| Main | 1 | 192.168.1.0/24 | Laptops, phones |
| Servers | 20 | 192.168.20.0/24 | Home Assistant, Frigate, NAS |
| IoT | 30 | 192.168.30.0/24 | Plugs, speakers, TVs |
| Cameras | 40 | 192.168.40.0/24 | Reolink cameras only |
Give every camera a DHCP reservation, not a static IP typed into the camera. Reservations live in one place, survive a factory reset, and make the firewall aliases easy. I name them by location (cam-driveway, cam-side-door) so the router logs read like English.
Do not put the Reolink NVR or doorbell chime on this VLAN unless you understand what they need. Start with plain cameras, get it working, then add the odd devices.
Step 2: Tag the Switch Ports
On the managed PoE switch, each camera port becomes an untagged member of VLAN 40 with its PVID set to 40. The camera has no idea VLANs exist; it just gets an address from the camera subnet. The uplink port to the router is a tagged trunk carrying VLAN 40 along with your other VLANs.
Two mistakes I made the first time:
- Leaving the camera ports in VLAN 1 as well. Many switches add every port to the default VLAN as untagged. If a port is untagged in two VLANs, behavior gets weird fast. Remove camera ports from VLAN 1 entirely.
- Moving the management port by accident. If you are configuring the switch through the same port you are reassigning, you will lock yourself out. Do the camera ports first, the trunk last, from a port you are not touching.
Plug one camera in, confirm it pulls a 192.168.40.x address in the router’s DHCP leases, then do the rest.
Step 3: The Firewall Rules That Actually Work
This is the part people get wrong. Firewall rules are evaluated top to bottom, first match wins, and by default most routers allow any VLAN to reach the internet. Here is the order I use, written generically so it maps onto OPNsense, UniFi, or pfSense:
| # | Interface | Source | Destination | Port | Action |
|---|---|---|---|---|---|
| 1 | Cameras | Camera net | Router (camera gateway IP) | 53 UDP/TCP, 123 UDP | Allow |
| 2 | Cameras | Camera net | Any | Any | Block (and log) |
| 3 | Servers | Home Assistant, Frigate | Camera net | 80, 443, 554, 1935, 9000 | Allow |
| 4 | Main | Your phone and laptop | Camera net | 80, 443, 554, 9000 | Allow |
Rule 1 lets cameras use the router as their DNS and NTP server. Rule 2 drops everything else they try to start, including connections to the internet and to your other VLANs. Rules 3 and 4 live on the other interfaces and let specific hosts reach in. Return traffic is handled by the firewall’s state tracking, so the cameras can answer Home Assistant without ever being allowed to initiate anything.
The ports: 80 and 443 are the web interface and the HTTP API the Home Assistant integration uses, 554 is RTSP, 1935 is RTMP, and 9000 is Reolink’s native Baichuan protocol, which the integration also uses for fast motion events. If you only want the bare minimum, allow 443, 554, and 9000 and turn off the HTTP and RTMP services in the camera settings.
If your router supports it, I also add a rule that redirects any DNS query from the camera net to the router. A couple of camera firmwares ship hardcoded public DNS servers; this catches them.
Step 4: Fix Time Sync Before It Bites You
The first thing that breaks on an isolated camera is the clock. With public NTP blocked, the camera drifts, and within a few weeks the timestamps on recordings no longer match Home Assistant events. Frigate does not care much, but you will when you are scrubbing footage.
Turn on the NTP server on your router (OPNsense, UniFi, and pfSense all have one), then set each camera’s NTP server to the camera VLAN gateway, 192.168.40.1 in my layout. Set the time zone on the camera too. Check a week later that the overlay clock still matches your phone.
Step 5: Reconnect Home Assistant and Frigate
If the cameras were already in Home Assistant before the move, they now have new IP addresses. The Reolink integration handles this better than most: it discovers by DHCP and usually updates the host on its own. If it does not, open the integration’s options and enter the new IP. Check that the person, vehicle, and motion binary sensors still update; if motion events lag by several seconds, port 9000 is blocked and the integration has fallen back to polling.
The snapshot problem from that Reddit thread is real, and it is almost always a rule that allows RTSP but not HTTPS. Home Assistant pulls snapshots over the HTTP API, so if 443 (or 80) is missing from rule 3, the live stream works and stills fail. Allow it and they come back.
For Frigate, point each camera at its new address. I keep credentials in Frigate’s environment variable substitution rather than inline:
cameras:
  driveway:
    ffmpeg:
      inputs:
        - path: rtsp://frigate:{FRIGATE_RTSP_PASSWORD}@192.168.40.11:554/h264Preview_01_sub
          roles:
            - detect
        - path: rtsp://frigate:{FRIGATE_RTSP_PASSWORD}@192.168.40.11:554/h264Preview_01_main
          roles:
            - record
Create a dedicated, view-only user on each camera for Frigate and Home Assistant instead of using the admin account. If one of those hosts is ever compromised, it cannot change camera settings. For more on how Frigate and the Reolink NVR compare as the recording brain, see my Reolink NVR vs Frigate breakdown.
Step 6: Firmware Updates Without Opening the Gate
The reason most people eventually poke a hole in the firewall is firmware. You do not need to. Reolink publishes firmware for every model in its download center. Find your exact model and hardware version on the camera’s device info page (the hardware version matters; flashing the wrong one is how you brick a camera), download the file on your laptop, then upload it through the camera’s web interface under the maintenance or upgrade section.
Because rule 4 lets your laptop reach the cameras, this takes about five minutes per camera and the camera never touches the internet. I check for updates twice a year and after any security advisory, and I update one camera first and let it run for a few days before doing the rest.
Step 7: The Phone App and Remote Viewing
The Reolink app works fine on the home network once your phone’s address is allowed by rule 4. Add cameras by IP rather than by UID; UID lookups go through Reolink’s P2P service, which the cameras can no longer reach.
Away from home is the honest trade-off. With the cameras blocked from the internet, the app cannot reach them through Reolink’s relay, and push notifications from the cameras stop. I do not miss either. Home Assistant sends my person and vehicle alerts with a snapshot attached through the companion app, and when I want live video I open the Frigate or Home Assistant camera view over Tailscale. If you do want the Reolink app remotely, a VPN back home works, though as that Reddit thread shows, the iOS app can be fussy about VPN-only connections on cellular.
What I Would Do Differently
Start with the firewall logs. Before writing rule 2, I ran it as “log but allow” for two days and watched what the cameras tried to reach. That told me exactly which services needed local replacements (DNS and NTP) and gave me confidence nothing else would break. Then I flipped it to block.
I would also put the doorbell on this VLAN from day one. I left mine on the IoT network for a year because I thought the chime needed cloud access. It did not; the PoE doorbell and the Home Assistant integration work fully locally. My Reolink doorbell Home Assistant setup covers that device.
The Bottom Line
A camera VLAN is the single best privacy upgrade for a Reolink or any other PoE camera system, and it costs you almost nothing in features. Put the cameras on their own subnet, let them reach only your router for DNS and time, let Home Assistant and Frigate reach in on the camera ports, and update firmware by hand from your laptop. You lose cloud push notifications and app access away from home without a VPN. You gain cameras that can never phone home and can never become a foothold on the rest of your network.
If you already own a managed PoE switch and a router that does VLANs, this is an evening of work. Do it before the cameras have been up long enough that you are afraid to touch them.