A detached garage is where a good Zigbee network reveals whether it is actually designed or merely lucky. A door sensor works perfectly on the kitchen cabinet, then disappears when you carry it across the yard. A temperature sensor reports for a day and goes silent during the coldest night. The coordinator is not necessarily bad. The path is.
I treat a detached garage as a small radio-planning problem, not as a reason to buy the strongest-looking dongle. The reliable solution is a route of always-powered devices, placed with the building materials and electrical layout in mind, followed by a real test in the sensor’s final location. This is the same mesh-first approach I use in my guide to fixing weak Zigbee networks and my best Zigbee devices for Home Assistant guide.
Start With the Coordinator Location
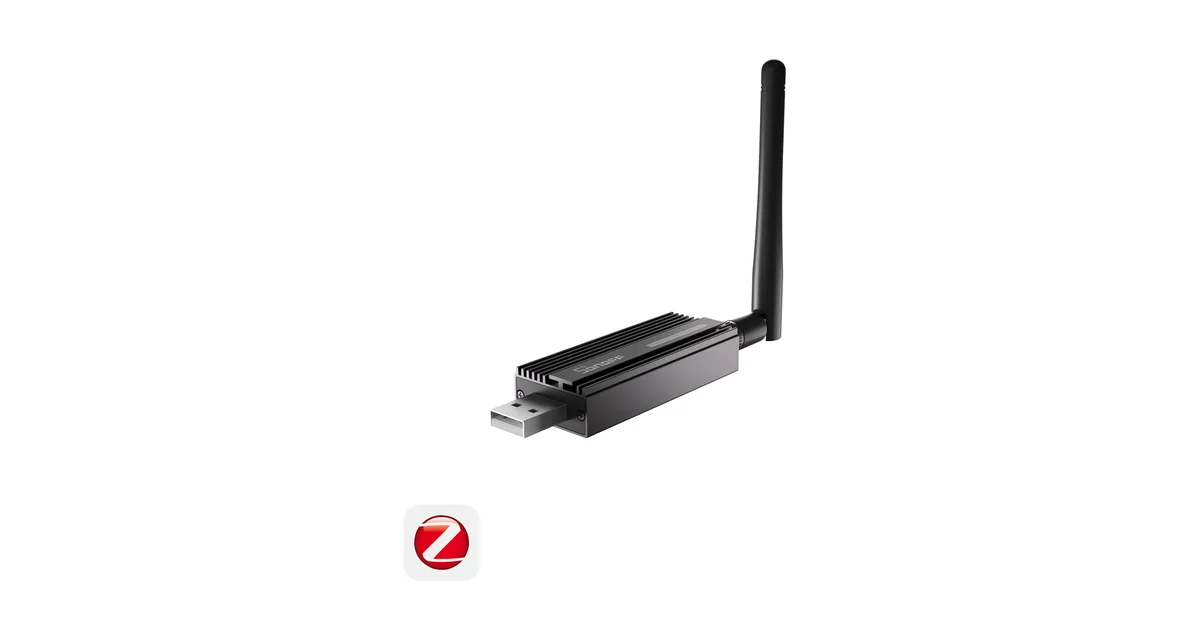
Before buying garage hardware, inspect the coordinator. A radio plugged into a mini PC inside a metal rack is already fighting USB noise, concrete, and the outside wall. Put it on a shielded USB 2.0 extension cable, away from the host and WiFi access points. My SONOFF ZBDongle-E from SONOFF with code JPK (Amazon fallback) is a reasonable supported starting point, but placement matters more than replacing a working coordinator.
Draw a rough line from the coordinator to the garage. Mark the exterior wall, the nearest indoor outlet, the yard or driveway crossing, and the first outlet inside the garage. Those are the places that matter. A router in the office does not help if the signal must then cross a foil-backed wall and a metal garage door.
Build a Route, Not a Radio Cannon
Mains-powered Zigbee devices are routers. Battery sensors are not. I place a useful smart plug near the house side of the exterior wall, another near the garage entry, and a third inside the garage if the first two do not produce a stable path. A Third Reality Zigbee smart plug is useful after the experiment too, unlike a dedicated repeater that only occupies an outlet.
Do not cluster all the routers beside Home Assistant. Each device should shorten the difficult radio hop. Keep them away from large metal appliances, breaker panels, refrigerators, and enclosed electrical boxes. In a garage, mount the router where it stays dry and where a car, tool chest, or closed metal door will not permanently shield it.
The garage door deserves special attention. A closed steel door can change the path dramatically. Test it open and closed. If the sensor only works with the door open, move the router to the side wall or inside the building rather than aiming through the largest sheet of metal.
Pair Devices Where They Will Live
Join the router devices first and wait. In ZHA or Zigbee2MQTT, confirm each router is online before adding the battery sensor. Then pair the sensor at its final location, with the garage door in its normal state. Pairing beside the coordinator proves almost nothing about the route the sensor will choose later.
After pairing, trigger the device repeatedly. Open the door sensor, walk past the motion sensor, and change the temperature sensor’s environment if possible. Leave the network alone overnight. Battery devices sleep, and a network map immediately after installation is not a verdict. I care about missed events in Home Assistant history, not whether every map line is green.
If the sensor joins but becomes unavailable, check the simple failures first: a weak battery, condensation, a switched outlet powering down the router, and a metal enclosure around the sensor. Then add or move one router. Change one variable at a time so you know what fixed it.
Weather, Temperature, and Battery Reality
A garage is not automatically an outdoor-rated environment. A device rated only for indoor use may survive a dry summer and fail when condensation forms. Check the manufacturer’s temperature and humidity limits. Keep electronics out of direct leaks, and do not put a powered plug where water can reach it.
Cold also changes battery behavior. Coin cells lose effective capacity at low temperatures, especially when the radio transmits. If a sensor works in the house but drops during a cold snap, replace the battery with a fresh cell rated for the conditions before redesigning the mesh. For critical alerts, use a sensor whose operating range covers the garage and create a Home Assistant alert when its battery falls low.
When Ethernet Is the Better Answer
Sometimes one mesh is simply the wrong architecture. If the garage has Ethernet, a network-connected Zigbee coordinator inside it can create a separate mesh close to the devices. That is not an extension of the original mesh: it is another Zigbee network, with its own devices and channel. The trade-off is operational complexity, but it can be cleaner than forcing a dozen hops through masonry and steel.
I use this option when the building is far away, the electrical path is noisy, or the garage needs many devices. For two sensors, a router chain is simpler. For a workshop full of switches, leak sensors, and energy monitors, a local coordinator may be easier to maintain.
My Garage Checklist
- Move the existing coordinator away from USB 3 hardware and metal.
- Map the difficult wall, door, and appliance crossings.
- Add a mains-powered router on the house side of the gap.
- Add another router near or inside the garage, kept dry and visible.
- Pair the sensor at its final location.
- Test with the garage door in its normal closed state.
- Wait overnight and inspect missed events, not just the network map.
- Check batteries, temperature ratings, and condensation before changing channels.
- Use a second network only when the building or device count justifies it.
The Bottom Line
A detached garage does not need a heroic Zigbee antenna. It needs a deliberate path. Move the coordinator into clean air, put useful mains-powered routers on both sides of the difficult wall, and test the sensor with the building in its normal state. Keep the hardware dry, respect cold-weather battery limits, and give the mesh time to settle.
For a small installation, start with one smart plug router, not a second coordinator. If the garage grows into its own smart building, Ethernet and a separate local mesh can be the more honest answer.