A weak Zigbee mesh rarely fails cleanly. The coordinator stays online, most devices still work, and one contact sensor at the far end of the house goes unavailable every few days. Then a motion sensor misses an automation, pairing only works beside the server, and the whole network starts to feel unreliable.
I have fixed this pattern enough times to know that replacing every sensor is almost never the answer. Zigbee reliability comes from the shape of the network: where the coordinator sits, what is interfering with it, and whether mains-powered routers form a usable path to the battery devices. The good news is that the highest-impact fix often costs less than ten dollars.
This guide goes deeper on the mesh behind the devices in my best Zigbee devices for Home Assistant guide. It applies whether you run Zigbee2MQTT or ZHA, because the radio physics and routing rules are the same.
First, Understand What Builds the Mesh
Every Zigbee network has three roles. The coordinator is the one radio attached to Home Assistant. Router devices relay traffic for other devices. End devices, usually battery-powered sensors and buttons, sleep most of the time and depend on a parent router to carry their messages.
That distinction explains most disappointing fixes. Adding six more battery sensors does not make the mesh denser. Moving a contact sensor closer to another contact sensor does nothing. The network becomes stronger when you spread always-powered routers through the building, usually smart plugs, hardwired switches, in-wall relays, or dedicated repeaters.
It also explains why a map full of lines can be misleading. Zigbee devices choose and change routes on their own. A weak-looking link is not automatically broken, and a device may work through a parent that the current map does not make obvious. I use the map to spot broad dead zones, not to obsess over one link-quality number.
Start with symptoms instead. Write down which devices fail, where they are, and whether they are all battery devices in the same area. If one entire floor or outbuilding is flaky, the network probably lacks a good route there. If devices everywhere fail randomly, suspect the coordinator location or radio interference before adding anything.
Fix the Coordinator Before Buying More Devices
The first thing I do on an unreliable network is move the coordinator away from the computer running Home Assistant. USB 3.0 controllers, SSD enclosures, HDMI cables, WiFi radios, and the metal case of a mini PC can all create or reflect noise around the same 2.4GHz band Zigbee uses. A perfectly good coordinator plugged directly into the back of a busy server can have terrible effective range.
Zigbee2MQTT’s own stability guide recommends a USB extension cable and says 50 centimeters can already make a difference. I use a shielded USB 2.0 extension cable, then place the dongle upright and in the open. USB 2.0 is not a downgrade here. Zigbee needs almost no bandwidth, and the older bus avoids the high-speed signaling that causes much of the interference.
Do not tuck the radio behind a rack, sit it on top of a metal NAS, or cable-tie it beside an access point. My target is roughly a meter away from the host, above shelf height if practical, with some air around the antenna. If Home Assistant runs in a basement rack, moving the coordinator toward the center of the house matters more than buying a radio with a more impressive antenna.
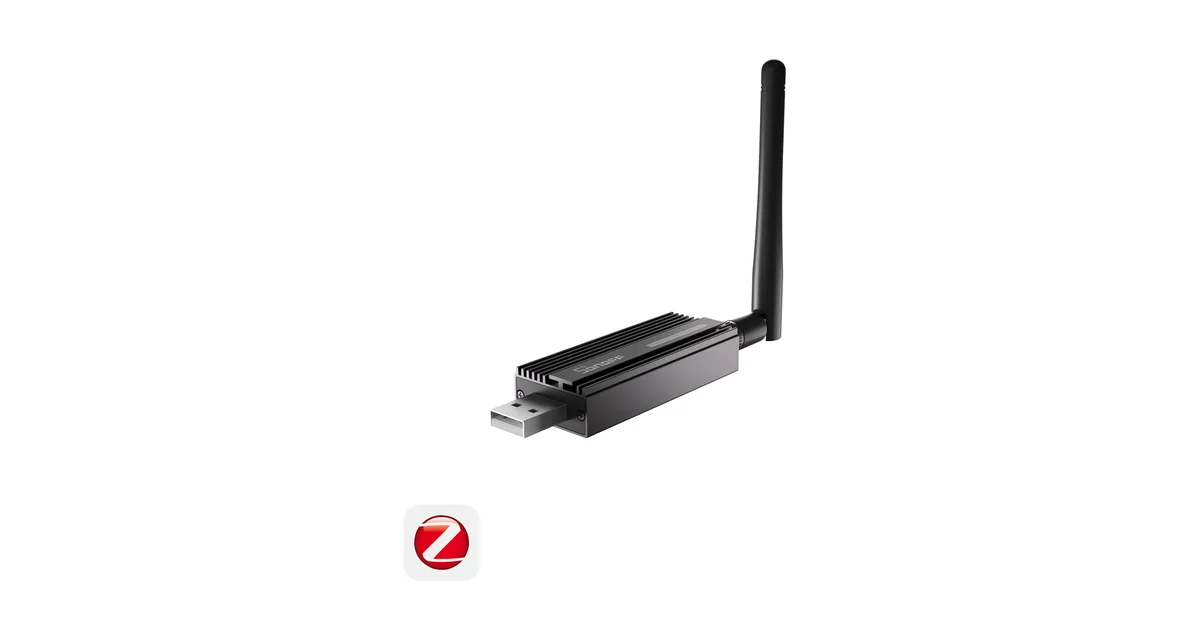
For a solid coordinator, the SONOFF ZBDongle-E direct from SONOFF with code JPK (also on Amazon) works with both ZHA and Zigbee2MQTT. But move your current supported coordinator first. A ten-dollar cable fixes more meshes than a thirty-dollar radio swap.
Add Routers Where the Mesh Is Weak
Once the coordinator is in a clean location, build a chain of routers toward the failing area. The word “router” sounds like another networking box, but in Zigbee it usually means an ordinary mains-powered device that agrees to relay traffic. A smart plug in a hallway can be the bridge between a coordinator in the office and a leak sensor in the far bathroom.
Placement beats quantity. Four plugs on one power strip beside the coordinator do not solve a dead zone upstairs. I start with one router in a central room, one near the stairs or floor transition, and one near the weak area. The goal is overlapping coverage, not a pile of repeaters. Walls, masonry, appliances, mirrors, electrical panels, and metal ductwork all matter, so the shortest route on a floor plan is not always the best radio path.
A Third Reality Zigbee smart plug is my default troubleshooting router because it is useful even after the network is fixed. Plug in a lamp or fan, get local control, and strengthen the mesh at the same time. Hardwired Zigbee switches and relays also make excellent permanent routers.
Be careful with smart bulbs. Many route well while powered, but a family member can flip the wall switch and remove that router from the mesh instantly. If battery sensors depend on that bulb, one normal human action can break their path. I treat bulbs as bonus routing capacity, never as the only bridge to an important sensor.
Let the Network Heal Before Judging It
Zigbee routing is dynamic, but it is not instant in the way a speed test is instant. After moving the coordinator or adding routers, leave the network powered and stable. Mains-powered devices usually update their relationships quickly. Sleepy battery devices can take longer because they only wake on their own schedule or when their sensor state changes.
I give a changed mesh at least several hours, and preferably overnight, before deciding the new router did nothing. During that time I trigger the weak devices naturally: open the door, walk past the motion sensor, press the button. I do not delete and re-pair everything at the first bad packet. Constantly rebooting the coordinator and moving routers prevents the network from settling and makes the diagnosis harder.
Both Zigbee2MQTT and ZHA can show a network visualization. Use it to confirm that routers appear across the house and that the isolated area now has possible paths. Treat link quality as a trend, not a pass or fail score. Different radios report it differently, and a low number that delivers every event is healthier than a pretty number attached to a device that disappears.
The test that matters is boring: does the automation fire every time for several days? I open and close the troublesome contact sensor repeatedly, walk through the motion zone, and watch Home Assistant’s history for gaps. Reliability over time is the metric. The network map is only a clue.
Check WiFi Overlap Last, Not First
Zigbee and 2.4GHz WiFi share the same spectrum, but their channel numbers do not line up. Zigbee channel 20 is not WiFi channel 20. A nearby access point transmitting heavily on an overlapping frequency can drown out low-power sensor traffic even when Home Assistant reports the coordinator as healthy.
This is real, but changing the Zigbee channel is not my first move. Moving the coordinator and adding well-placed routers are easier, safer, and more likely to fix the problem. A Zigbee channel change can require devices to rediscover the network, and stubborn devices may need to be paired again. That is a lot of disruption for a guess.
If the mesh still fails after the physical fixes, inspect your own 2.4GHz WiFi plan. Note which of WiFi channels 1, 6, and 11 your access points use, then choose a Zigbee channel with the least practical overlap. Channels 15, 20, and 25 are common starting points, and Zigbee2MQTT recommends using a standard ZLL channel such as 11, 15, 20, or 25 for broad device compatibility. Channel 26 can look attractive at the edge of the band, but some devices do not support it properly.
Pick a channel once, change it deliberately, and expect a maintenance window. Do not bounce among channels hoping to find magic. If you have several access points, reducing unnecessary 2.4GHz transmit power can also help. More WiFi power is not always better when every access point is shouting across the same house.
Repair Devices in Their Final Location
When a battery device remains unreliable after the mesh settles, repair it in the room where it will live. Pairing beside the coordinator proves the device can join, but it can also encourage the device to choose a parent it will never reach once you carry it upstairs. Pairing in place lets it discover the routers that actually surround it.
Add the router first and leave it online. Then put Zigbee2MQTT or ZHA into pairing mode, reset the sensor, and join it at its final mounting point. If it cannot pair there, do not keep pressing the button for half an hour. The path is still weak. Move or add a router between that location and the rest of the mesh, wait for the router to join fully, and try again.
Avoid deleting a working device unless you need to. Many devices can be rejoined or reconfigured without losing the Home Assistant entity and every automation attached to it. If you do remove it, note the entity name before starting so you can restore the same name and avoid rebuilding dashboards and automations.
Also check the ordinary failures. A coin cell that reports 40 percent can still sag under radio transmission. Corroded battery contacts, a loose wall plug, or a switched outlet can impersonate a mesh problem. Replace the battery, verify mains power, and trigger the device a few times before blaming the protocol.
What I Would Not Buy First
I would not start with a dedicated high-power repeater, a second coordinator, or an expensive network migration. A normal useful smart plug is easier to place, easier to replace, and often routes just as well. Two coordinators also cannot share one Zigbee network. Running a second one means building a separate mesh, choosing another channel, and deciding which devices belong to which Home Assistant integration.
I would only replace the coordinator when the current model is unsupported, underpowered for the network size, running bad firmware, or physically stuck in a poor location. Ethernet and PoE coordinators can be excellent when Home Assistant lives in a rack at the edge of the building, because they let the radio sit centrally without a long USB run. They are an architectural fix, not the default answer to one sleepy sensor.
Firmware matters, but I update it after reading the release notes and backup instructions, not as a panic response. Coordinator firmware changes can improve routing and device capacity, but they can also turn a small reliability issue into an unavailable network if the flash goes wrong. Fix placement and routing first, then change software with a backup and a reason.
My Troubleshooting Order
When a Zigbee device starts dropping, I follow the same order every time:
- Replace or reseat the device battery and confirm it is actually powered.
- Put the coordinator on a shielded USB 2.0 extension cable and move it into open air.
- Identify whether the failures cluster in one room, one floor, or everywhere.
- Add a useful mains-powered router halfway toward the weak area.
- Leave the network alone overnight so routes can settle.
- Test real events and Home Assistant history, not just the map.
- Repair only the stubborn devices, and do it in their final locations.
- Inspect WiFi overlap and consider a Zigbee channel change only if the physical fixes fail.
- Replace or relocate the coordinator only when there is evidence it is the limitation.
That order is intentionally cheap and reversible. Each step tests one layer without blowing up the network you are trying to repair.
The Bottom Line
A reliable Zigbee mesh is not built by buying the coordinator with the biggest antenna or staring at link-quality lines until they turn green. It is built by getting the coordinator away from noisy USB hardware, spreading mains-powered routers through the places people actually live, and giving battery devices a stable path home.
Start with the USB extension cable. Then put a useful Zigbee smart plug between the coordinator and the dead zone. Let the network settle, pair stubborn sensors where they will live, and only then touch channels or coordinator firmware.
If you do need a new radio, the SONOFF ZBDongle-E from SONOFF with code JPK (Amazon fallback) is a sensible, broadly supported choice. Just do not plug the new one into the same noisy port and expect different physics.
The best Zigbee network is boring. Doors report every open, motion turns on the light every time, and Home Assistant’s unavailable list stays empty. Build for that outcome, not the prettiest map.