I have a rule in my house: a light switch should never depend on a server in Oregon to turn on a light in my hallway. For years that rule pushed me toward smart bulbs, and smart bulbs are a bad answer at scale. They are expensive per socket, they break the physical switch (flip it off and now Home Assistant cannot reach the bulb), and most of them want a cloud account and an app I will never open.
The better answer was sitting in my junction boxes the whole time. Leave the dumb bulbs alone, leave the dumb fixtures alone, and put a tiny relay behind the existing wall switch. That relay is a Shelly, it costs about fifteen dollars, it speaks to Home Assistant entirely over my LAN, and once I disable its cloud feature there is nothing left phoning home.
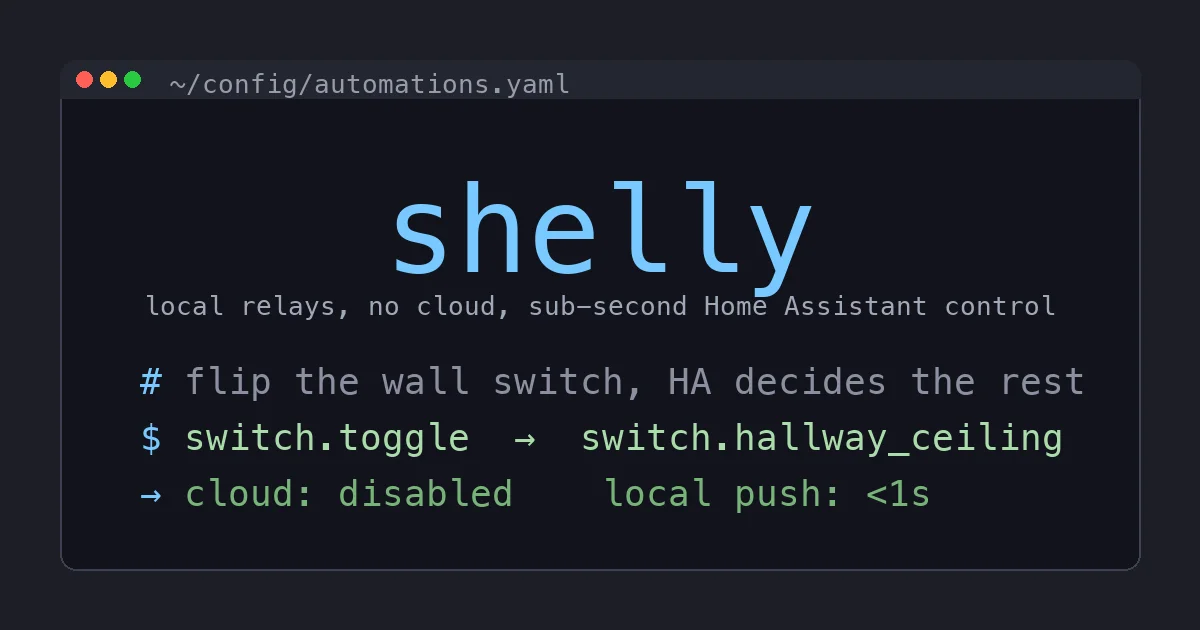
This is the build log for converting a house to local Shelly control: which models to buy, how to wire them safely, the one settings change that matters most, and the detached-switch trick that makes a fifteen-dollar relay outclass a forty-dollar smart bulb.
Why Not Smart Bulbs, Plugs, or a Cloud Switch
I went through all three before I landed on relays.
Smart bulbs are the obvious starter move and the worst long-term one. They cost real money per socket, a five-bulb living room fixture is a small fortune, and the failure mode is maddening: someone flips the physical switch, the bulb loses power, and now your “smart” light is a dumb dark bulb that Home Assistant reports as unavailable. You end up taping over switches or buying smart switch covers to stop humans from using the wall the way humans use walls.
Smart plugs only solve lamps. They do nothing for the ceiling fixtures and hardwired lighting that make up most of a house.
Cloud smart switches solve the physical-switch problem but reintroduce the dependency I am trying to kill. The r/homeassistant and r/smarthome threads are full of the same story on repeat: a switch brand gets acquired, the app gets migrated, the integration breaks, and a wall full of switches goes dumb because someone else shipped a bad release. I wrote a whole build log about doing exactly this for my water main for the same reason. If a device’s core function needs a vendor’s servers, the vendor can take it offline without asking me.
A Shelly relay sidesteps all of it. The fixture stays dumb and cheap. The wall switch stays a real wall switch. The brains are a relay that runs local firmware and talks to my hub over Wi-Fi, and I can cut its internet access on day one and it does not care.
What a Shelly Actually Is
A Shelly Plus or Gen3 device is a Wi-Fi relay small enough to stuff into the gang box behind your existing switch or into the canopy of a light fixture. It sits between line power and the load, and it switches the load on command. That command can come from the physical switch wired to its input, from its local web UI, from its local REST/RPC API, from MQTT, or from Home Assistant.
The part that matters for my no-cloud rule: Gen2 and Gen3 Shellies run a local RPC API and support local push to Home Assistant over an outbound WebSocket. There is no cloud in the path between Home Assistant and the relay. Shelly Cloud exists as an opt-in convenience, and the first thing I do on every device is turn it off.
You do not flash anything. People conflate Shelly with the old “buy a Sonoff and flash Tasmota” ritual, but Shelly’s stock firmware is already local-first and already speaks to Home Assistant natively. Flashing is optional and, in 2026, mostly pointless. The stock firmware does everything I describe here.
Which Shelly to Buy
There are a lot of models. For lighting and general switching, this is the short list I actually use:
- Shelly Plus 1 (about $15). A single dry-contact relay, up to 15A. This is the workhorse for “make this one circuit smart.” It can switch a light, a fan, a pump, a garage door dry contact, almost anything. Buy these by the handful. There is a 2-pack if you want to start cheaper.
- Shelly Plus 1PM (about $20). The same relay with power metering. Worth the extra five dollars anywhere you want to know wattage: I put 1PMs on anything where “is this actually on” or “how much is this drawing” is useful, like the well pump and the garage space heater. The PM data also makes a great state proxy (more on that below).
- Shelly Plus 2PM (about $35). Two metered channels in one box, and a dedicated roller-shutter/cover mode. This is what goes behind motorized blinds and behind two-gang switch boxes where I want both switches smart from one device.
- Shelly 1 Mini Gen3 (about $13). A genuinely tiny version of the Plus 1 for when the gang box is already a rat’s nest and you have no room. Same local capabilities, smaller envelope.
For 90% of a house, you want a pile of Plus 1 and Plus 1PM units and a couple of 2PMs for the blinds. Start with two or three, do one switch, confirm you like the workflow, then buy the rest.
The Wiring Reality (Read This Before You Buy)
I am not going to write a substitute for an electrician, and if mains wiring makes you uneasy, hire one. But there are two facts that decide whether this project is even possible in your house, and you can check them in five minutes.
You need a neutral. The Shelly Plus 1 and 1PM need line, neutral, and load to power themselves. Many older US switch boxes only have a switch loop: line and load, no neutral. If you pull the switch plate and there is no bundle of white neutral wires in the box, a standard Shelly relay will not work at that location. Newer construction (post-2011 in much of the US) almost always has a neutral in the box. Check first.
You need space. The Plus 1 is small but the gang box might already be full. If it is a cramped single-gang box stuffed with three-way wiring, reach for the 1 Mini Gen3. A pack of WAGO 221 lever nuts makes the in-box wiring dramatically tidier than wire nuts and buys you room.
Kill the breaker, confirm it is dead with a tester, and wire the Shelly per its diagram: line in to L, neutral to N, load out to O, and the existing switch to the SW input. That SW input is the key to the whole trick, which I will get to.
Step 1: Disable the Cloud Before Anything Else
When a Shelly powers up the first time it broadcasts its own Wi-Fi access point. Connect to it, open 192.168.33.1 in a browser, and join it to your network. I put all of mine on a dedicated IoT VLAN with no internet route, which makes the no-cloud promise structural instead of trust-based, but a normal flat network is fine too.
Then, in the device web UI, go to Settings and turn Cloud off. This is the single most important step in this entire build. With Cloud off, the device has no reason to reach Shelly’s servers, and everything from here is pure LAN.
While you are in there, set a static IP or a DHCP reservation, give the device a real name (kitchen-ceiling, not shellyplus1-a8032ab), and update the firmware locally so you are starting current. Do this once per device. It takes two minutes.
Step 2: Add It to Home Assistant
This part is almost anticlimactic. The native Home Assistant Shelly integration auto-discovers the device the moment it is on your network. You will get a notification, you click configure, and you are done. No account, no API key, no app.
What you get is local push: the Shelly reports state changes to Home Assistant over an outbound WebSocket the instant they happen, so toggling the physical switch shows up in HA in well under a second, and HA commands hit the relay just as fast. There is no polling lag and no cloud round trip.
For each Plus 1 you get a switch entity. For a 1PM you also get power, voltage, and energy sensors. For a 2PM you get two channels plus a cover entity if you set it to shutter mode.
Step 3: The Detached Switch Trick
Here is the feature that makes a fifteen-dollar relay beat a smart bulb.
By default a Shelly is coupled: flipping the physical wall switch directly drives the relay. This is great for critical lights because it means the switch works even if Home Assistant is down. But it also means the switch can only do one dumb thing: on or off.
Flip the Shelly into detached (also called decoupled) mode and the physical switch stops driving the relay directly. Instead, every flip becomes an event in Home Assistant, and you decide what it does. The relay still controls the load, but now an automation sits in between.
Why is that powerful? Because now a single dumb rocker switch can:
- Single-tap to toggle the light as normal
- Long-press to turn on every light in the room
- Double-tap to trigger a scene
- Do completely different things at 7am versus 11pm
The light fixture stays dumb and cheap, the bulbs stay dumb and cheap, the switch on the wall stays a normal switch that the babysitter understands, and yet the switch is now fully programmable. That is the whole pitch for relays over smart bulbs in one paragraph.
Here is a detached-mode automation that toggles the light on a single click and runs a “everything off downstairs” routine on a double click:
automation:
  - alias: "Hallway switch: click and double-click"
    trigger:
      - platform: state
        entity_id: event.hallway_switch_input
        attribute: event_type
        to: "single_push"
        id: single
      - platform: state
        entity_id: event.hallway_switch_input
        attribute: event_type
        to: "double_push"
        id: double
    action:
      - choose:
          - conditions:
              - condition: trigger
                id: single
            sequence:
              - service: switch.toggle
                target:
                  entity_id: switch.hallway_ceiling
          - conditions:
              - condition: trigger
                id: double
            sequence:
              - service: scene.turn_on
                target:
                  entity_id: scene.downstairs_off
My rule of thumb: critical lights (stairs, bathrooms, the kid’s room) stay coupled so they degrade gracefully and work with HA down. Convenience and scene lights go detached so they get superpowers. The house never becomes unusable if my hub reboots, but the fun stuff is as smart as I want.
Step 4: Use the Power Meter as a Sensor
The 1PM’s power metering is not just a stat to look at. It is a cheap, reliable state proxy.
The washing machine is a dumb machine on a Shelly Plus 1PM. I do not need a “smart” washer. I watch the power draw: when it climbs above a few watts and then drops back to near zero for a couple of minutes, the load is done, and Home Assistant tells me. Same trick on the sump pump (alert if it runs too often or not at all) and the garage freezer (alert if power drops to zero, because that means the freezer is off and dinner is thawing).
template:
  - binary_sensor:
      - name: "Washer running"
        state: "{{ states('sensor.washer_power') | float(0) > 5 }}"
        device_class: running
A dumb appliance plus a metered relay plus four lines of template config gives you a smart appliance that never depended on the manufacturer building an app. That is the pattern I keep coming back to.
MQTT or Native? My Actual Setup
People love to argue this one. My honest take: use the native integration for almost everything. It is local-push, auto-discovered, and there is nothing to maintain.
I reach for MQTT in two cases. First, when I want one transport for the whole house and already run a broker, so every device, Shelly or ESPHome or Zigbee2MQTT, lands in the same place. Second, when I want the device to keep publishing and responding even while Home Assistant is restarting, which native handles fine but MQTT makes explicit. If you go MQTT, point the device at your broker and keep the credentials out of your YAML the right way:
mqtt:
  broker: 127.0.0.1
  username: !secret mqtt_user
  password: !secret mqtt_password
Those !secret references pull from your secrets.yaml, which is exactly where broker credentials belong. Do not paste a literal password into configuration.yaml.
There is no wrong answer here. Native is the lower-effort default. MQTT is the power-user option. You can mix them in the same house.
What I’d Skip
- Do not detach your critical lights. I said it above and I will say it again because it is the mistake everyone makes once. A detached stairwell switch that does nothing during an HA outage is a safety problem, not a feature. Keep load-bearing lights coupled.
- Do not put Shellies on your main network if you can avoid it. A cheap IoT VLAN with no internet route turns “I disabled the cloud” from a promise into a fact. If your router can do it, do it.
- Do not buy the non-UL imports to save two dollars. These are in your walls switching mains power. Buy the UL-listed versions and sleep better.
- Do not over-meter. A 1PM on every light is overkill. Use metered units where the wattage tells you something (appliances, pumps, heaters) and plain Plus 1 units everywhere else.
The Bottom Line
Smart bulbs were always the wrong layer to make smart. The fixture is fine. The bulb is fine. The thing that should be smart is the switch, and the cheapest, most local way to make a switch smart is to hide a Shelly Plus 1 behind it.
For about fifteen dollars a circuit you get a relay that runs local firmware, auto-discovers into Home Assistant with no account, pushes state changes in under a second, and keeps the physical wall switch working like a wall switch. Turn the cloud off on day one, put them on an isolated VLAN, run your critical lights coupled and your convenience lights detached, and add a 1PM wherever power draw tells you something useful. The result is a house full of lighting that is genuinely smart, genuinely local, and genuinely cannot be taken offline by someone else’s app migration. That last property is the entire reason I do any of this.