A 2.5GbE switch is easy to install badly. Plug everything in, turn on VLANs, and suddenly Home Assistant cannot discover a speaker, the NAS share vanishes, and the access point’s management page is somewhere you cannot reach. I learned to treat VLANs as a security boundary first and a speed feature second.
The good news is that 2.5GbE and VLANs fit together cleanly. Same-VLAN traffic still switches at full speed, existing Cat5e usually stays in place, and the managed switch does the repetitive forwarding work. The hard part is deciding what belongs together and writing rules that preserve the local services a house actually needs. This is the logical next step after my targeted 2.5GbE upgrade and pairs with a properly segmented Home Assistant network.
Start With a Small Network Map
I use five networks at most: trusted clients, servers, automation and IoT, guests, and management. The names do not matter. The boundaries do. My laptop and phone belong on trusted. Home Assistant, NAS services, and hypervisors belong on servers. Plugs, cameras, televisions, and similar devices go into automation or IoT. Guests get internet only. Switches, access points, and the firewall live in management.
Do not create a VLAN merely because a device is interesting. A separate network means another DHCP scope, another firewall policy, and sometimes broken discovery. If two devices need to talk frequently and have the same trust level, keeping them together is often the more reliable choice.
Write down the subnet, gateway, DHCP range, and purpose for each VLAN before touching the switch. Reserve addresses for infrastructure. Put the management network on paper first, including the firewall interface and the switch’s management address, so you do not strand the device halfway through the change.
The Switch Must Carry Tagged Traffic
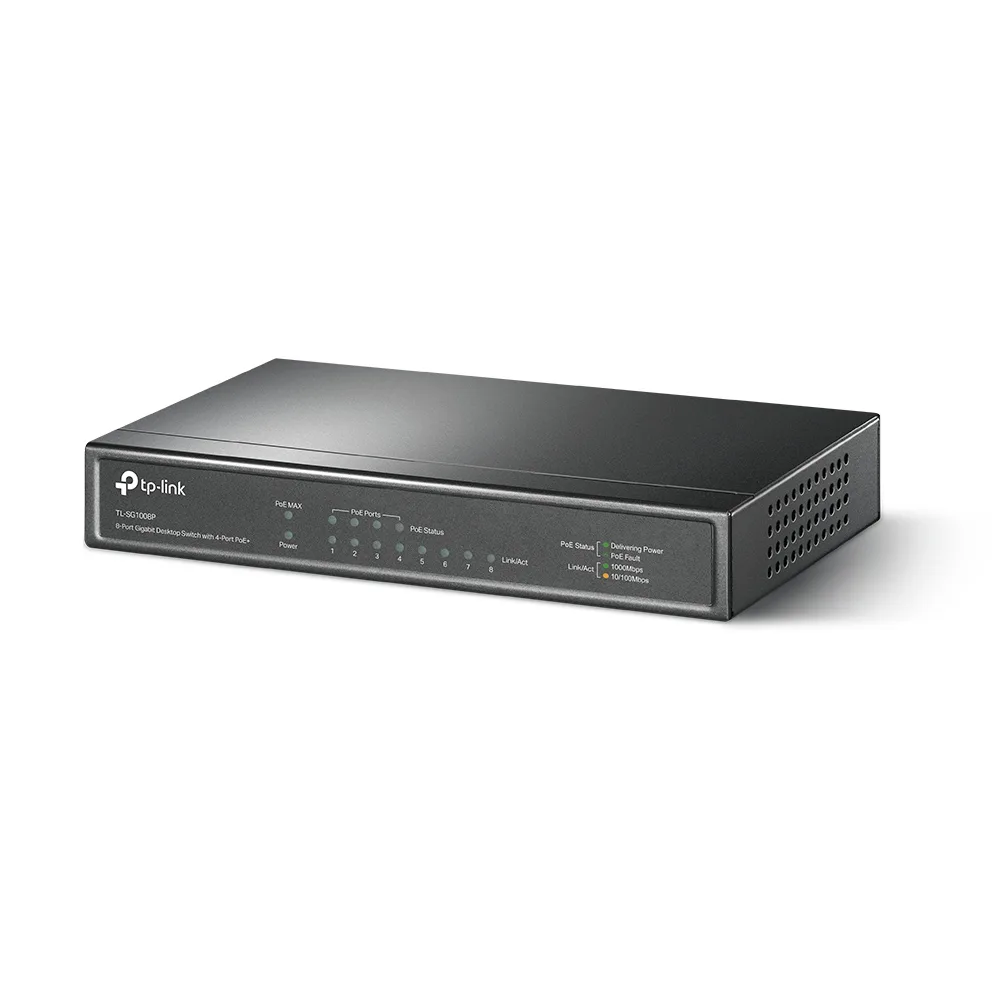
The switch needs 802.1Q VLAN support. Access ports carry one untagged VLAN to ordinary devices. Trunk ports carry multiple tagged VLANs to the router, hypervisor, and access points. A 2.5GbE managed switch with VLAN and SFP+ support gives a small lab enough headroom without forcing every endpoint to upgrade at once.
I configure one port at a time. First create the VLANs, then assign the firewall uplink as a trunk, then move one test laptop to an access port. Confirm it receives the right address and can reach the internet. Only after that do I move the access points and servers.
Leave one known-good management path untouched until the end. If the switch supports a console port, use it. If not, keep a direct cable from a laptop to a documented access port. The boring recovery path is worth more than a clever configuration.
Put Fast Storage on the Right Side of the Router
VLANs do not require NAS traffic to cross the firewall. If the desktop and NAS share a server or trusted VLAN, their transfers stay inside the switch. That is where 2.5GbE shines. A 2.5GbE USB adapter is a practical way to add speed to a mini PC or laptop, while the rest of the house can remain at gigabit.
If the desktop is trusted and the NAS is servers, the transfer becomes inter-VLAN traffic. That can still work well, but now the firewall routes every packet. Measure it. If throughput collapses, either keep the high-volume pair together or upgrade the firewall path. Do not buy a faster switch to solve a router bottleneck.
Use new Cat6 patch cables only where a specific link negotiates incorrectly. Normal-length Cat5e runs are usually fine for 2.5GbE.
IoT Isolation Is Not One Checkbox
Putting a smart plug on an IoT VLAN does not automatically make it work. The device may need DNS, NTP, internet access for setup, and a local connection from Home Assistant. Start restrictive, then add the exact flows you observe.
My normal policy is: IoT can reach DNS and time services, IoT cannot initiate connections to trusted clients, and Home Assistant can reach the device protocols required by the integration. I allow established return traffic. I do not expose the device VLAN directly to the internet just because a vendor’s app is convenient.
Cameras deserve their own decision. If the NVR and cameras are on the same VLAN, the video stream stays local. If the NVR is elsewhere, permit only the camera-to-recorder traffic and the recorder’s management path. Disable cloud features when the camera supports local operation, but verify firmware and alert behavior before cutting access.
Discovery Is Usually the Real Problem
Routing is not the same as discovery. A manually configured HTTP integration may work across VLANs while an automatically discovered speaker does not. mDNS, SSDP, multicast, and proprietary broadcast protocols often stop at a router.
When an integration disappears, identify its discovery method before opening the whole network. Add an mDNS reflector for the specific VLANs that need it, forward SSDP only when the integration requires it, or configure the device by IP if that is stable and documented. Then create a firewall rule for the actual control traffic.
For Home Assistant, keep the controller on a network where it can reach the devices it manages. I prefer explicit rules over a wide allow from automation to every internal subnet. The result is easier to audit and less surprising when a new IoT device arrives.
Test the Rules Like a User
A configuration is not finished when the switch reports green ports. Test from each VLAN: get DHCP, resolve DNS, reach the internet where intended, and confirm blocked destinations are actually blocked. From trusted, open the NAS and Home Assistant. From guests, verify internet access but no management page. From IoT, trigger a real device and confirm its state returns.
Run an iperf3 test between the two 2.5GbE endpoints on the same VLAN, then test an inter-VLAN path. The first tells you whether the switch and endpoints work. The second tells you whether the router can carry the policy you designed. Check negotiated link speeds too. A link silently falling back to gigabit can look like a VLAN problem.
Keep a change log. Record the port, VLAN, tagged or untagged state, address range, and firewall rule. Six months later, that document will save more time than another network diagram.
My Safe Rollout Order
- Inventory devices and traffic before creating networks.
- Record the current switch and firewall access path.
- Create VLANs and DHCP scopes without moving endpoints.
- Trunk the firewall and verify one test access port.
- Move the access points, preserving a management SSID.
- Move Home Assistant, servers, and IoT one group at a time.
- Add narrow firewall rules for DNS, time, discovery, and control.
- Test blocked and allowed flows from every VLAN.
- Measure same-VLAN and inter-VLAN throughput.
- Export the switch and firewall configuration.
The Bottom Line
VLANs make a 2.5GbE home lab safer when the design stays small and the rules describe real traffic. Separate trusted clients, servers, automation, guests, and management when those boundaries help you. Keep fast NAS transfers on the switch where possible, and remember that inter-VLAN speed belongs to the firewall, not the switch.
Start with a documented trunk and one test port. Add Home Assistant discovery deliberately instead of opening every subnet. Then measure both allowed traffic and blocked traffic. A quiet, predictable network is more valuable than a diagram full of VLAN numbers.