A Zigbee network usually does not fail all at once. It gets noisy first. One motion sensor reports late, a light misses an automation, and a door sensor goes unavailable for ten minutes. Then somebody replaces the integration, resets half the devices, and makes the real problem harder to see.
I prefer a network audit before a migration. The same checklist works whether you run ZHA or Zigbee2MQTT, and it supports my Zigbee devices guide: good devices still need a good radio network.
Start With the Coordinator
The coordinator is the one device every packet eventually depends on. Treat it like network infrastructure, not a disposable USB accessory.
First record its model, firmware, connection type, and physical location. A modern coordinator with current firmware is not automatically better if it is buried behind a mini PC, pressed against a metal shelf, or sharing a noisy USB hub. I want the radio at least a foot away from the host, storage drives, and Wi-Fi equipment.
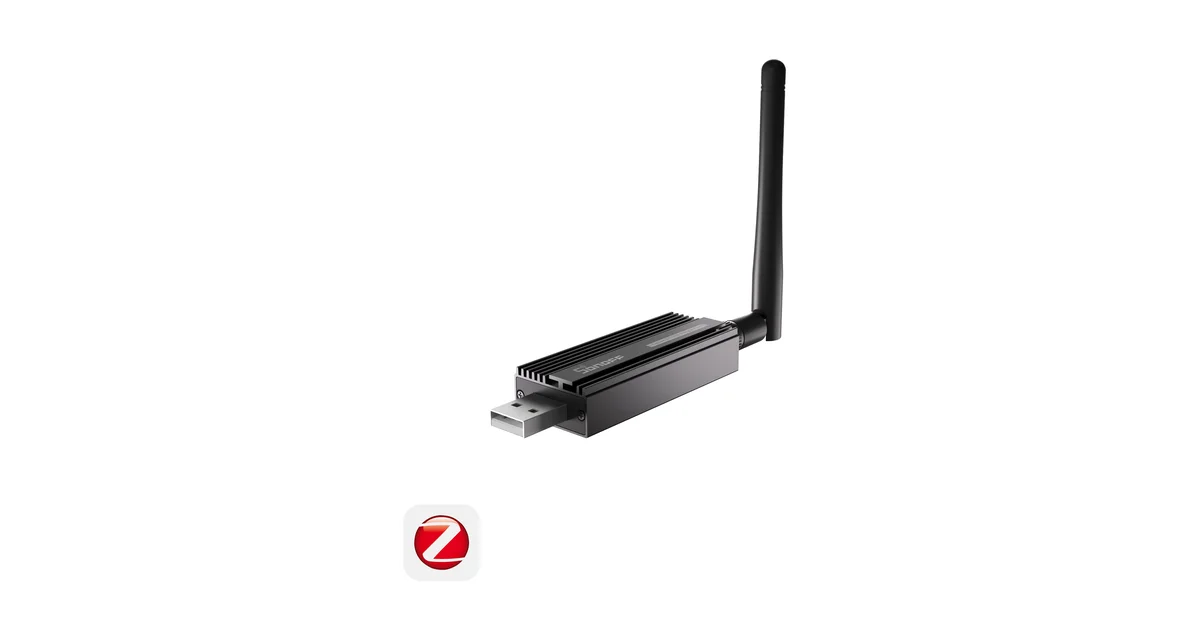
A SONOFF Zigbee Dongle Plus-E (also on Amazon) is a sensible baseline for a Home Assistant installation. The important detail is not the brand logo. It is using a coordinator with adequate capacity, current firmware, and a placement that gives the antenna room.
USB 3 interference is still one of the most common hidden causes of bad Zigbee. If the coordinator is plugged directly into a USB 3 port, move it with a USB 2.0 extension cable. Do this before changing channels or re-pairing devices. It is cheap, reversible, and often decisive.
Draw the House as Radio Zones
Open a floor plan, even a rough one, and mark the coordinator, every mains-powered Zigbee device, and the devices that regularly fail. This turns a vague “the upstairs sensor is flaky” complaint into a path problem.
Mark dense materials: brick fireplaces, masonry foundations, metal utility closets, foil-backed insulation, appliances, and exterior walls. Zigbee is a low-power 2.4GHz mesh. It can cross ordinary drywall easily, but a path through a furnace room or several masonry walls is a different engineering problem.
Detached garages and sheds deserve their own zone. Do not assume a device outside will find a reliable route through a window because the phone on your porch has Wi-Fi. Put a powered router near the transition, then test the actual battery device where it will live.
Count Routers, Not Devices
Battery sensors are endpoints. They sleep to preserve battery and normally do not forward traffic. A house full of battery sensors can therefore have an impressive device count and a terrible mesh.
Powered plugs, in-wall switches, wired thermostats, and dedicated repeaters can act as routers. Spread them through the home rather than placing six in one rack. The goal is multiple plausible paths, not a single strongest repeater.
I look for a powered router near each floor boundary, at the far end of long hallways, and on the path to outdoor or basement devices. Avoid putting every router in the same room as the coordinator. That creates a strong local island and leaves the rest of the house dependent on one weak hop.
A router should be judged by behavior, not its packaging. Some cheap mains devices have poor routing firmware. If a new plug causes previously reliable sensors to disappear, remove it and observe the network before assuming the sensors are defective.
Use the Network Map Carefully
Zigbee2MQTT exposes an especially useful map, while ZHA gives you different diagnostic views depending on the Home Assistant release and coordinator. Treat both as evidence, not a live GPS display.
Maps are snapshots. A sleepy battery sensor may not report its current route, and a line on the screen does not prove that every packet takes that path. Look for patterns: many devices converging on one distant router, a weak link across a wall, or a group of devices that never finds a nearby powered neighbor.
Record the map before and after one controlled change. If you add a router, allow the network time to settle, wake or operate the affected devices, and then compare. Changing five routers at once makes the result uninterpretable.
Link quality numbers are implementation-specific. Do not compare a value from ZHA directly with a value from Zigbee2MQTT and call one healthier. Compare the same device, in the same stack, over time, alongside real behavior.
Audit Battery Devices
For each unreliable sensor, check battery percentage, last-seen time, reporting interval, and physical placement. A sensor that reports every few seconds because an automation is misconfigured will exhaust its battery and look like a mesh failure.
Replace a genuinely low battery before doing radio surgery. Check that the battery contacts are firm and that the device is not mounted against metal. For temperature sensors, a refrigerator door or utility cabinet can create a difficult radio environment that has nothing to do with the coordinator.
After improving router coverage, do not expect every sleeping device to move immediately. Wake it according to the manufacturer’s process, or operate it repeatedly over the next day. Some devices retain a route until they reconnect, while others only update after a report.
Channel Planning Is a Last-Mile Fix
Zigbee and Wi-Fi share the 2.4GHz band. Channel planning matters, but it is not the first lever I pull. A coordinator beside a USB 3 drive remains badly placed on a quiet channel.
Document your Wi-Fi 2.4GHz channel and the Zigbee channel before changing anything. Pick a combination that reduces overlap, then apply the change according to the stack’s documented process. Some devices need to rediscover or repair after a channel move, and older devices may behave differently.
Do not change channel, coordinator, firmware, and routers in one evening. If the network improves, you will not know why. If it gets worse, you will have several changes to undo.
The Controlled Failure Test
A reliable mesh should survive ordinary events. Restart Home Assistant during a maintenance window and confirm that the coordinator returns, devices become available, and automations resume. Do not factory-reset anything for this test.
Then test representative endpoints: a nearby light, a distant sensor, a device behind a wall, and the hardest outdoor or basement device. Trigger each several times. Record latency and missed events rather than relying on memory.
If only one endpoint fails, inspect its battery, placement, and nearest router. If an entire branch fails, inspect the router that serves that area. If everything fails after a restart, investigate coordinator connection, USB power, serial port selection, and add-on startup before touching the mesh.
When to Migrate Between ZHA and Zigbee2MQTT
A network audit can tell you whether your problem is radio infrastructure or software. Do not migrate stacks to fix USB interference, a weak router layout, or a dead battery.
Migration makes sense when you need device support, a better map, more detailed logging, or a different operational model. It is not a free stability upgrade. You may need to re-pair devices and rebuild entity references. My comparison of Zigbee2MQTT and ZHA covers that trade-off in detail.
If the current stack is stable, leave it alone. Improve the physical network first. Software should be the second diagnosis, not the first reflex.
The Bottom Line
A Zigbee audit is mostly boring infrastructure work: move the coordinator away from noise, add powered routers where the map is weak, inspect batteries and physical obstacles, and change one variable at a time. That process fixes more “Zigbee instability” than switching integrations. Once the radio path is sound, choose ZHA for low maintenance or Zigbee2MQTT for deeper diagnostics and device coverage. The stack matters, but the mesh matters first.