My upstairs office is heated and cooled by a Mitsubishi mini-split, and for two years the smartest thing about it was a phone app that I actively resented. The app is called Kumo Cloud, it is what Mitsubishi’s own WiFi adapter phones home to, and it has the reliability of a coin flip in a strong breeze. Sometimes it loads. Sometimes it spins for thirty seconds and tells me the unit is offline while the unit is very obviously running two feet from my head. Sometimes it just logs me out for sport.
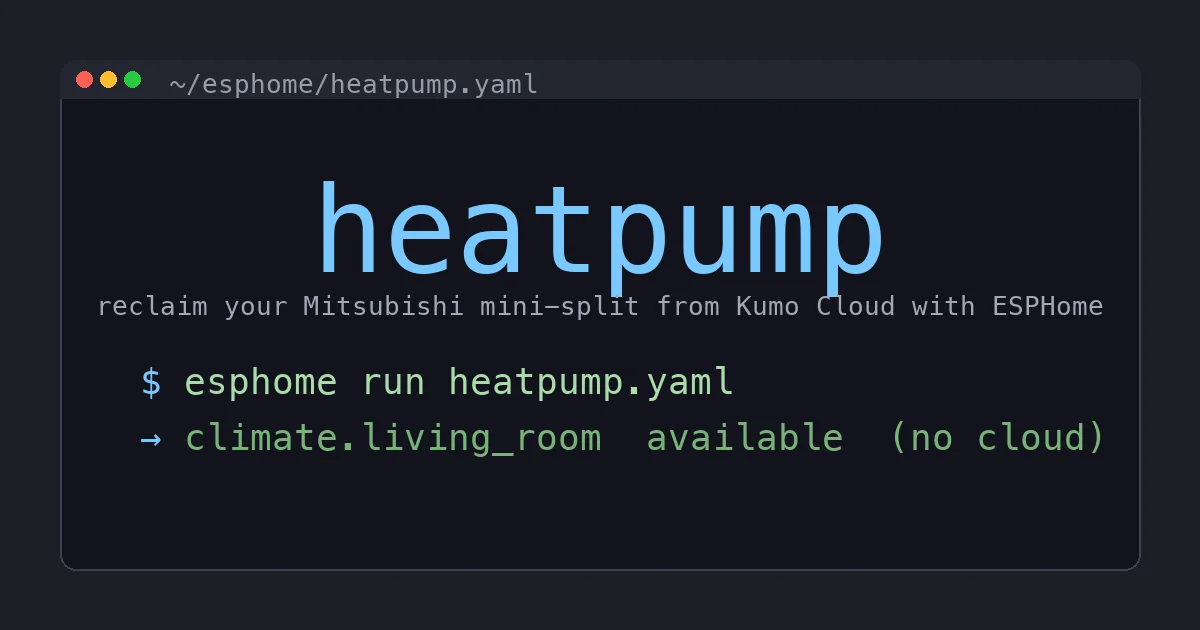
I put up with it because the alternative looked like a project. Then, during a heat wave, the cloud went down entirely for most of a day, and I could not change the setpoint on a machine bolted to my own wall because a server somewhere was having a bad afternoon. That was the last straw. This is the build log for cutting Kumo Cloud out of the loop completely and running the mini-split from an ESP32 that lives inside the unit and talks only to Home Assistant on my own network.
The good news for anyone nervous about the word “build”: this one is genuinely easy, fully reversible, and costs about twenty dollars. There is a plug-and-play port already sitting on the control board waiting for exactly this. I will also cover the boxed, no-firmware alternatives at the end, because not everyone wants to open an air handler, and that is a completely fair place to land.
Why the Mitsubishi CN105 Port Is a Gift
Here is the part that makes this build so much friendlier than it sounds. Every modern Mitsubishi mini-split has a small five-pin connector on the indoor unit’s control board labeled CN105. It is not a hack point. It is the official accessory port. Mitsubishi’s own WiFi adapter plugs into it. The MHK2 wired thermostat plugs into it. It carries a simple serial protocol plus 5V power, and a community developer named SwiCago reverse-engineered that protocol years ago.
That reverse-engineering work grew into an ESPHome project called MitsubishiCN105ESPHome, which packages the whole thing into a firmware you flash onto a cheap ESP board. You plug the board into the exact port the Mitsubishi adapter used, and now Home Assistant speaks the unit’s native language directly, locally, with no cloud in the middle. No infrared blasting, no guessing at state, no “I sent an off command but I have no idea if the unit is actually off.” The unit reports its real mode, real fan speed, real vane position, and real room temperature back over the wire.
That last point is the thing IR-based controllers cannot do. A Sensibo or a Cielo blasts an infrared command at the unit the same way the handheld remote does, then hopes it landed. It has no idea what the unit is actually doing because infrared is one-way. The CN105 connection is two-way. That difference is the entire reason I chose the wired build for my primary unit.
Step 0: Confirm You Have a CN105 Port
Do not buy anything until you have confirmed the port exists, because the whole build hinges on it. The good news is the odds are heavily in your favor.
- You already use the Mitsubishi WiFi adapter (Kumo Cloud) or an MHK2 thermostat. Then you definitely have a CN105 port, because that is what those accessories plug into. You are just going to unplug Mitsubishi’s device and plug in yours.
- You have a bare mini-split with only the handheld remote. Pop the front cover off the indoor unit (it unclips, no tools) and look on the right side for the control board. The CN105 header is a small white five-pin connector, usually unpopulated, often with a little cap. If it is there, you are set.
- You cannot find a five-pin CN105 header anywhere. Some very old or very cheap non-Mitsubishi units do not have one. In that case skip to the IR-blaster section at the end, because the wired build is not for you and an infrared controller is your honest path.
One hard limitation to state plainly up front: the CN105 port serves one master at a time. If you plug in the ESP32, you unplug the Mitsubishi WiFi adapter or the MHK2. You cannot run both on the same port. For me that was the entire point, because the Mitsubishi adapter was the thing I wanted gone. But if you love your MHK2 wall thermostat, know that this build replaces it rather than joining it.
The Hardware
The parts list is short and cheap.
- An M5Stack ATOM Lite, around twenty dollars. This is the board I recommend without hesitation. It is an ESP32 the size of a large sugar cube, it has a Grove connector that lines up perfectly with the CN105 cable, and it can be powered off the 5V that the CN105 port itself provides. One cable carries both data and power, and the whole assembly tucks inside the unit’s housing out of sight. Any ESP32 or ESP8266 with a spare UART will do the job, but the ATOM Lite is the one that makes this feel finished rather than hacked together.
- A CN105-to-Grove connector cable. This is the one part where the specific listing matters less than the spec: you want the five-pin (5P) CN105 connector on one end. These come from a handful of small sellers and the exact stock rotates, so a search is the safest way to land on a live listing rather than a dead one. Under ten dollars either way.
That is it. About thirty dollars all in, no soldering if you buy the pre-terminated Grove cable, and one afternoon that is mostly waiting for firmware to compile.
Step 1: Flash the ESP Before You Touch the Unit
Flash the board on your desk first, verify it boots and joins WiFi, and only then go anywhere near the mini-split. Debugging a device you have already tucked inside an air handler is miserable, so get it working in the open.
I run the ESPHome add-on inside Home Assistant, so I added a new device there and pulled in the MitsubishiCN105ESPHome external component. The critical thing, and the thing that keeps your credentials out of any config you might one day paste into a forum, is to reference secrets rather than inline them:
substitutions:
  name: heatpump-office
  friendly_name: Office Heat Pump

wifi:
  ssid: !secret wifi_ssid
  password: !secret wifi_password

api:
  encryption:
    key: !secret api_key
Put the real WiFi password and API key in your ESPHome secrets.yaml, never in the device YAML itself. The !secret reference is exactly how you should do this in the real world anyway, so the safe habit and the correct habit are the same habit here.
The heat-pump component itself is added with a short block that pins the project’s package for your board, sets the UART pins the ATOM Lite’s Grove port uses, and names the climate entity. The project’s README gives you the exact uart pins and the ref to pin, and they change occasionally as the firmware matures, so copy them from the current docs rather than from a blog post frozen in time. Compile, flash over USB the first time, confirm the board shows up in ESPHome as online, and you are ready for the physical part.
Step 2: Plug It In
Kill power to the mini-split at the breaker. The indoor unit is low-voltage at the control board, but the whole appliance is on a mains circuit and I would rather you be bored than brave.
Pop the front cover off the indoor unit and find the CN105 header on the control board. If the Mitsubishi WiFi adapter is currently plugged in there, unplug it. Plug the CN105 end of your cable onto the header, paying attention to orientation. The connector is keyed, and the community docs for your board show which ridge lines up with which pin, so match them rather than forcing it. Plug the Grove end into the ATOM Lite.
Tuck the ATOM Lite and the cable slack neatly inside the housing. There is almost always room in the right-hand cavity where the Mitsubishi adapter lived. Clip the front cover back on, restore power at the breaker, and watch. Within a minute the board boots, joins WiFi, and the ATOM Lite’s little LED settles. That is your whole hardware install.
Step 3: What Lands in Home Assistant
The moment the board connects, Home Assistant discovers it through the ESPHome integration and you click adopt. No HACS, no custom integration, no account. What you get is a proper climate entity that behaves like a first-class thermostat:
- Mode: off, heat, cool, dry, fan-only, and auto, all read from and written to the unit directly.
- Target temperature, settable from any dashboard, automation, or voice assistant.
- Fan speed, including the quiet and auto steps the handheld remote exposes.
- Vane position, both the up-down swing and, on supported units, the left-right louvers.
- The unit’s own room temperature sensor, reported back live.
- Diagnostic sensors for WiFi signal and uptime.
Every one of those is bidirectional. Change the setpoint from the wall remote and Home Assistant sees it. Change it from Home Assistant and the unit obeys. There is no drift, no “the app thinks it is off but it is running,” none of the state-guessing that plagues infrared control. The climate entity is real, and that is the payoff for choosing the wired path.
Step 4: The Automations That Justify the Whole Thing
A mini-split you can see in a dashboard is nice. A mini-split that thinks for itself is why you did this.
Regulate off a real room sensor, not the ceiling. A mini-split head is mounted high on the wall, so its built-in sensor reads the warm air pooled near the ceiling and the room ends up cooler than the number suggests. I feed the climate entity an external temperature sensor sitting on my desk at sitting height, and now the setpoint means what it says. This one change made the unit feel dramatically better calibrated, and the stock remote simply cannot do it.
Window and door interlock. If the office window is open, the mini-split should not be fighting the outdoors. A contact sensor on the window pauses cooling and pushes a gentle notification instead of silently burning electricity into the yard.
Presence and schedule. The unit drops to an eco setpoint when the room’s presence sensor has seen nobody for twenty minutes, and pre-cools before I usually start work so the room is comfortable when I sit down rather than starting to cool when I arrive. Because everything is local, this fires on a schedule that does not care whether my internet is up.
Load shedding on the whole-home energy monitor. When my energy monitoring says the house is pulling hard during peak-rate hours, the mini-split nudges its setpoint a couple of degrees toward neutral for a while. Small, invisible, and it adds up on the bill.
Every one of these runs on hardware inside my house. If my internet connection dies, if Mitsubishi’s cloud dies, if Kumo Cloud gets discontinued in a reorg five years from now, none of it matters. The trigger, the logic, and the action all live on my own network. That is the difference between this and the app I started with.
The Easy Path: Boxed Controllers That Skip the Build
Not everyone wants to pop the cover off an air handler, and I would never pretend the ESPHome build is for everyone. If you want most of the outcome with none of the firmware, two boxed products are the honest recommendation, with one caveat I will be straight about: both lean on the cloud more than the CN105 build does, which is the exact thing that annoyed me about the stock adapter in the first place. For a lot of people that trade is completely worth it.
- Cielo Breez Plus, around one hundred dollars. It is a wall-mounted smart thermostat for mini-splits with inbuilt temperature and humidity sensors, no subscription fees, and a Home Assistant community integration. It controls the unit over infrared, so it is one-way like any IR device, but the wall-thermostat form factor and the local-sensor readout make it feel far more finished than an app. This is the pick for someone who wants a thing on the wall that works.
- Sensibo Air or the cheaper Sensibo Sky, roughly one hundred and seventy or one hundred dollars respectively. These are small IR blasters that learn your handheld remote’s codes and expose the unit to Home Assistant, Alexa, Google, and HomeKit. The Air is HomeKit-certified and adds air-quality sensing. Sixty-second install, no unit-opening, no flashing. The trade is that they are cloud-leaning IR devices, so they carry the same one-way limitation and the same “hope the command landed” caveat as any infrared controller.
If you are the kind of person reading a build log to the end, get the ATOM Lite and do the wired build, because it is strictly better and barely harder. If you just want your mini-split in Home Assistant by dinner, a Cielo or a Sensibo will get you there and I will not talk you out of it.
The Bottom Line
Kumo Cloud is a fine idea executed by a server that does not care about my heat wave. The CN105 port is Mitsubishi quietly leaving the door open for something better, and the community walked right through it. For about twenty dollars and an afternoon, my office mini-split now runs entirely on my own network, reports real state instead of guessing, regulates off a sensor at desk height instead of the ceiling, and keeps working when the internet does not.
If your unit has a CN105 port, and it almost certainly does, get an M5Stack ATOM Lite and a CN105 cable and do the build. If opening the unit is a step too far, a Cielo Breez Plus or a Sensibo Air is the boxed way in. Either way, the goal is the same: a climate system that answers to you and your house, not to a login page having a bad day.