I have been through more thermostats than I want to admit. Original mercury bulb circa 1995, dumb Honeywell digital, Nest 2nd gen (loved it for the first year, hated it after Google bought it), Ecobee 4 (good thermostat, terrible at being local), and a brief flirtation with a Sinopé Z-Wave model that died nine months in.
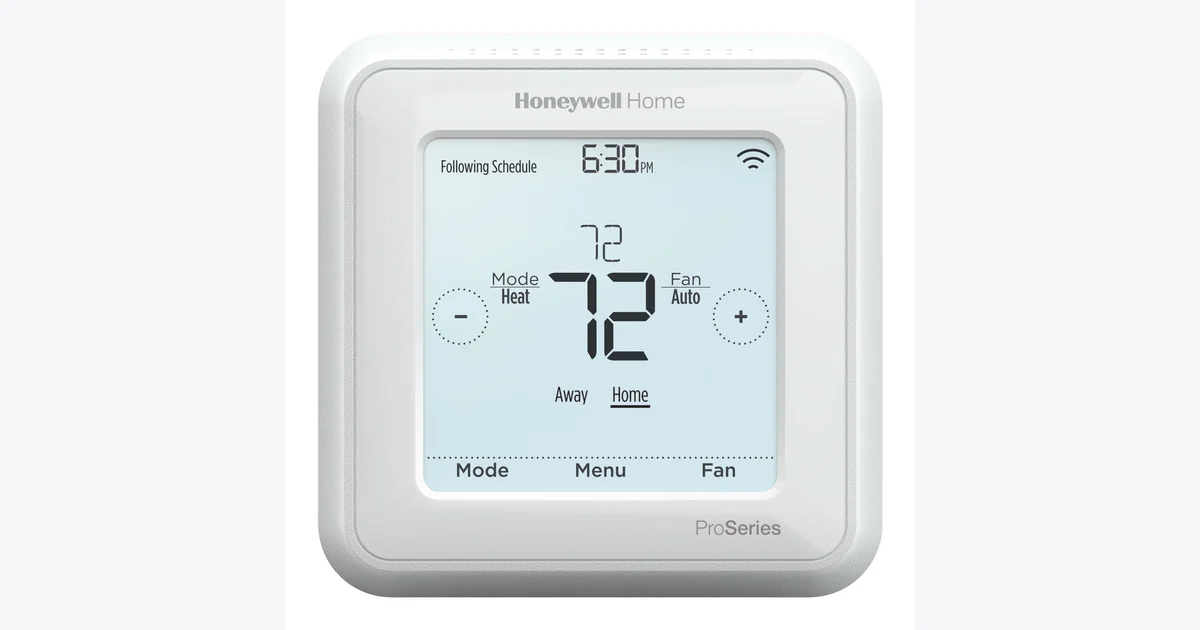
Six months ago I gave up on the Wi-Fi thermostat genre entirely and installed the Honeywell T6 Pro Z-Wave TH6320ZW2003. It is boring. It is local. It has a touchscreen from approximately 2017. Home Assistant pairs with it in a minute and forgets about the cloud forever. This is the build log and the honest review.
Why I Stopped Buying Wi-Fi Thermostats
Every Wi-Fi thermostat I have owned has had the same set of problems:
- It needs a vendor cloud account. Nest wanted Google. Ecobee wanted ecobee.com. Mysa wanted Mysa. If those accounts ever vanish or get deprecated, the thermostat turns into a dumb $250 wall ornament.
- Local control is an afterthought. Ecobee’s local API is a homekit-only side-channel. Nest’s API got killed. Even the “Works with Home Assistant” integrations sit on top of a cloud round-trip that adds 2-4 seconds per setpoint change and breaks the day your ISP has a hiccup.
- Firmware updates can change behavior. I watched my Nest get a “feature” that disabled its programmable schedule in favor of an AI learning mode I did not ask for. There is no opt-out for that on a Wi-Fi thermostat. There IS an opt-out on a Z-Wave thermostat. The opt-out is called “don’t update the firmware.”
The T6 Pro fixes all three by being a piece of hardware that talks Z-Wave to a hub of my choosing. The Honeywell Home app, Resideo cloud, and Alexa integrations all exist for the Wi-Fi version of this thermostat. The Z-Wave version skips all of that. There is no account to make, no email to confirm, no Alexa skill to install. You wire it up, you pair it to your Z-Wave network, you write Home Assistant automations against the climate entity. Done.
Hardware Notes
What you actually need:
- The Honeywell T6 Pro Z-Wave (TH6320ZW2003). Make sure the model number ends in
ZW. There is a separateWF(Wi-Fi) variant with the same chassis that you do NOT want, and a2007variant that is the same Z-Wave thermostat with a different cover plate. The2003model includes the UWP mounting plate and is what most installers stock. - Three AA batteries (Energizer Ultimate Lithium recommended) OR a C-wire. I’ll cover the wiring decision in detail.
- A Z-Wave coordinator stick paired to Home Assistant. I run a Zooz 800 series LR stick, but anything Z-Wave JS supports works.
- A Fluke 117 multimeter or any decent voltage tester. You will want to verify 24VAC across R and C before you commit to any wiring path.
Total spend if you have nothing: about $200 for the thermostat plus the Z-Wave stick. If you already run Z-Wave in your house, the T6 Pro itself is the only purchase.
The C-Wire Decision
This is the question that derails 80% of thermostat upgrades, so let’s just answer it.
A C-wire (common wire) is the 24VAC return path that lets a thermostat draw continuous power. Modern smart thermostats want a C-wire because their screen and radio are always on. Older houses often have only R, W, Y, and G wires at the thermostat. No C.
You have three options:
Option 1: Use batteries. The T6 Pro runs on three AA batteries. I’m on month 11 of my first set of Energizer Ultimate Lithium AAs and the battery indicator is still at 80%. This is the cheapest and least invasive option. The downside is that the screen sleeps aggressively to save power, so you have to wave at it to see the current temperature. The Z-Wave radio still wakes on schedule (every few seconds when polling, every few minutes when idle) so commands from Home Assistant work fine.
Option 2: Run a new wire. If you have unfinished basement access to the thermostat run, you can fish a new 5-conductor or 8-conductor thermostat cable from the furnace to the thermostat in an afternoon. This is the cleanest answer and gets you a wired C plus brighter screen.
Option 3: Add a C-wire adapter at the furnace. A Honeywell C-Wire Power Adapter (THP9045A1023) sits on the furnace control board, takes 24VAC from the transformer, and synthesizes a C-wire by switching one of your existing wires (usually G). This is a 15-minute install if you’re comfortable opening your furnace panel. If you’re not, pay an electrician for an hour of their time.
My recommendation: just use batteries. If you go full Home Assistant local mode, you’re not polling the thermostat constantly. The battery life is real. You do not need a C-wire for this thermostat to be a great Home Assistant thermostat.
Installation
The wiring is the hard part and there are eight YouTube videos on it. The Home Assistant pairing is the easy part.
- Kill power at the furnace breaker. Test with the multimeter. The R wire at the thermostat should read 0VAC to ground. If it doesn’t, you found the wrong breaker.
- Photograph your existing wiring. Phone camera. This is your insurance policy.
- Pull the old thermostat off, label the wires (the old thermostat almost certainly has terminal labels you can compare against). The T6 Pro UWP mounting plate uses the same R, W, Y, G, C terminal naming as basically every other thermostat.
- Mount the UWP plate. The included template is fine. Two screws into drywall anchors. Pull the wires through the center hole.
- Land the wires on the UWP terminals. Press down on the terminal tab, insert wire, release. The terminal grabs it. If your wire is too long, snip it. If it’s too short, you have bigger problems.
- Snap the T6 Pro onto the UWP plate. It clicks. Power on.
- Walk through the install wizard. It asks you what system type (single-stage furnace + AC, heat pump, 2-stage, etc.) and configures the W/Y/O wiring accordingly. Takes 60 seconds.
- Pair to Home Assistant. Open Z-Wave JS UI, hit “Add Node,” set inclusion mode. On the thermostat, press Menu, scroll to Z-Wave, select “Add to Network.” The pair completes in 10-30 seconds.
The pair process gave me one S0 (legacy security) device. That’s normal for the T6 Pro, which predates S2. It is not a security risk for a thermostat that does not control locks or cameras. Z-Wave traffic on your home network is still RF-encrypted at the link layer.
What You Get in Home Assistant
Once paired, you get a climate.honeywell_t6_pro_z_wave_thermostat entity with:
- Current temperature (°F or °C, configurable)
- Current humidity (read-only, no setpoint control)
- HVAC mode: heat, cool, off, auto, emergency_heat
- HVAC action: heating, cooling, idle, fan
- Target temperature (single setpoint in heat/cool, or low+high in auto)
- Fan mode: auto, on, circulate
- Battery level (if running on AA)
That’s everything you actually need to automate the thermostat. Here’s the automation I wrote on day one:
alias: "Setback when everyone leaves"
trigger:
  - platform: state
    entity_id: zone.home
    to: "0"
    for: "00:15:00"
condition:
  - condition: time
    after: "06:00:00"
    before: "21:00:00"
action:
  - service: climate.set_temperature
    target:
      entity_id: climate.honeywell_t6_pro_z_wave_thermostat
    data:
      temperature: 62
When everyone has been gone 15 minutes, drop the heat to 62°F. Comes back up when someone arrives home. Saved me about $30 the first month based on my power monitor’s HVAC circuit.
What It Does Better Than Ecobee
I owned an Ecobee 4 for two years before this. Direct comparison:
Local control: T6 Pro wins. There is no cloud, period. The Ecobee local API is HomeKit only and getting setpoints out to Home Assistant requires either the cloud integration (slow, requires account) or a clever HomeKit-to-MQTT bridge (works but is one more moving piece).
Schedule persistence: T6 Pro wins. If my Home Assistant box dies, the T6 Pro continues running its last-loaded schedule indefinitely. The Ecobee similarly persists but the cloud account integration breaks the moment Ecobee changes their API.
Setup time: T6 Pro wins, by a lot. Ecobee onboarding is account, app, Wi-Fi, firmware update, room sensors pairing, geofence permissions, multi-day “learning” period. T6 Pro is wire, install wizard, pair to Z-Wave. Eight minutes start to finish.
Aesthetics: Ecobee wins. The T6 Pro looks like it belongs in a 2017 hallway. The Ecobee looks like a piece of modern art. If aesthetics are a primary concern in your house, this matters.
Remote sensors: Ecobee wins. The T6 Pro is single-sensor only. If you want to average temperatures across multiple rooms, you need to do that in Home Assistant via the generic_thermostat or a template helper. Not hard, but it’s setup the Ecobee does in the app.
Humidity control: Ecobee wins for setpoints. The T6 Pro reports humidity but cannot drive a humidifier or dehumidifier directly. If you need that, you write a Home Assistant automation against humidity sensors and switch outlets.
Voice control: Tie, but in different ways. Ecobee has a built-in speaker for Alexa. T6 Pro has nothing, but Home Assistant Voice + the T6 Pro entity exposes “set the temperature to 68” via local voice without giving Amazon your HVAC data.
What It Does Worse
The honest list, because every review needs one:
- Single sensor. Your hallway temperature is not the temperature of your bedroom. If room-by-room control matters, the T6 Pro alone is not enough. You’ll need temperature sensors in each room and a generic_thermostat helper that averages them.
- Touchscreen is dated. Touch response is fine, but the visual design is unmistakably 2017. The Ecobee Premium and Mysa Lite look like they were designed in the last 24 months. The T6 Pro looks like it was designed by people who care more about reliability than aesthetics. Which, honestly, is what I want from a thermostat.
- No occupancy sensing. Ecobee uses room sensors as motion detectors and adjusts mode accordingly. T6 Pro does not. If you want occupancy-based HVAC, you build it in Home Assistant from your existing motion sensors.
- First-gen Z-Wave chip. The T6 Pro is on a 500-series Z-Wave chip, not the newer 700/800 series. In practice this means slightly higher power draw, no Z-Wave Long Range support, and S0 security only. None of these have caused me a real-world problem in six months but they’re worth knowing.
Three Real-World Incidents That Sold Me
Outage 1: ISP down for 6 hours. Comcast had a local outage. Wi-Fi worked internally, internet did not. T6 Pro continued operating on its normal schedule. Home Assistant continued issuing setpoint changes via the local Z-Wave mesh. The Ecobee owner one street over called me to ask if his thermostat was supposed to be unreachable from his phone. Yes. Welcome to cloud dependencies.
Outage 2: Home Assistant container ran out of disk. My SD card on a backup deployment filled up, HA stopped responding. The T6 Pro held its last setpoint and kept running the schedule the device itself stored. I came home, the house was 68°F, I fixed the disk, HA reconnected and the climate entity reappeared. No HVAC interruption.
Power outage during a winter cold snap. Power went out for 2 hours overnight at 3°F outside. T6 Pro is on AA batteries, so the radio kept telling Home Assistant the room temperature even with the house power off. When my UPS-backed Pi alerted me that house temp had dropped below 60°F, I knew to check on pipes. That’s a notification path that does not exist on a Wi-Fi thermostat without house power.
What to Buy It With
The thermostat alone is enough. But if you’re building this out fully:
- A C-wire adapter or batteries (see the C-wire section above)
- Per-room temperature sensors (any Zigbee or Z-Wave temp sensor; Aqara, Sonoff, and ThirdReality all make $15 sensors)
- A Z-Wave coordinator stick if you don’t have one. Zooz 800 series LR is my pick.
- A power monitor on your HVAC circuit so you can actually see what your automations save
The Bottom Line
The Honeywell T6 Pro Z-Wave is a 4.5-star thermostat. It loses half a star for the dated UI and the lack of humidity setpoint control. It wins on every metric I actually care about: it’s local, it survives Home Assistant outages, it pairs in a minute, and it has continued to do its job without complaint for six months.
If you’re shopping for a smart thermostat in 2026 and Home Assistant is your hub, this is the answer. Don’t buy the Ecobee. Don’t buy the Nest. Don’t buy the Mysa. Buy a Honeywell T6 Pro Z-Wave, pair it once, and forget about it for eight years.
The boring choice is the right choice.