For two years my office had a motion sensor on the ceiling and a lamp that turned itself off while I was sitting right under it. I would be at the desk, reading something, perfectly still, and the lights would drop because the passive infrared sensor had decided the room was empty. I would wave an arm like an idiot to bring them back. Every smart home person knows this dance.
The fix is radar. Specifically a 24GHz mmWave module called the LD2410, which detects the tiny micro-motions of a still human body instead of waiting for you to walk across a lens. I have built a few of these now, and I want to write down the whole thing: the parts, the wiring, the ESPHome config, and the part that actually trips people up, which is calibrating the gates so the sensor stops reporting a ghost in an empty room.
This is the from-scratch DIY version. If you would rather buy a finished, boxed presence sensor and skip the soldering, the Aqara FP2 is the one I point people to and I will say more about it at the end. But the LD2410 build costs about six dollars in radar plus whatever ESP32 you have in a drawer, and once you understand the gates it is genuinely better tuned to your specific room than anything you can buy off a shelf.
What mmWave Actually Buys You Over PIR
A passive infrared sensor, the white blob in the corner of every motion-activated room, sees one thing: a warm object moving across its segmented lens. Walk through the beam and it fires. Stop moving and, after its timeout, it goes dark. That is the entire failure mode of PIR presence: it cannot tell the difference between an empty room and a room with a person sitting still in it.
mmWave radar works completely differently. It bounces a 24GHz signal off the room and measures the phase shift of what comes back. A living human body is never truly still. You breathe, your chest rises, your fingers shift on a phone, your head turns. The radar sees all of that as micro-Doppler motion and reports you as present. That is why a properly tuned LD2410 keeps the lights on while you read and a PIR does not.
The trade-off is that radar sees too much if you let it. A ceiling fan, an oscillating space heater, an HVAC vent blowing a curtain, a plant swaying near an open window, all of it is motion to the radar. The entire skill of using one of these is teaching it which motion to care about. That is what the gates are for, and we will get there.
Step 0: Pick the Right LD2410 Variant Before You Buy
There are three modules sold under this name and the difference matters for a solder-free build.
- LD2410 and LD2410B: the original boards. They work identically as radar, but the pin header uses a tight 1.27mm pitch. That is half the spacing of normal breadboard pins, so you cannot just push Dupont jumpers on. You will be soldering fine wires to a cramped header.
- LD2410C: electrically the same radar, but the pins are standard 2.54mm pitch. Dupont jumpers push straight on, it sits on a breadboard, and there is no soldering required for a prototype.
For an ESPHome build, buy the LD2410C. The few cents you might save on the B variant are not worth an hour with a soldering iron and a magnifier. I learned this the hard way on my first build, squinting at a 1.27mm header at midnight.
The Parts
The whole bill of materials is short and cheap.
- An LD2410C radar module, around five to seven dollars. This is the actual sensor.
- An ESP32 DevKit board. Any WROOM-based DevKit works. I use the cheap 38-pin ones that show up in five-packs. The ESP32 runs ESPHome and bridges the radar to WiFi.
- A few female-to-female Dupont jumpers to connect the two. You need four.
- A 5V USB-C power supply and cable to run the ESP32. A basic 2A brick is plenty.
Total is under fifteen dollars even if you buy the ESP32 fresh, and most of us already have a pile of ESP32 boards. Compare that to forty or eighty dollars for a finished sensor and the appeal is obvious, with the caveat that you are paying the difference in your own time.
Step 1: Wire the Radar to the ESP32
The LD2410C speaks over a serial UART, so you are connecting four wires: power, ground, and a transmit/receive pair. Power down everything before you wire it.
The module has five pads, and you use four of them:
- VCC on the LD2410 to the 5V pin on the ESP32. The module takes 5V and regulates down on board.
- GND to any GND pin on the ESP32.
- TX on the LD2410 to a free RX-capable GPIO on the ESP32. I use GPIO16.
- RX on the LD2410 to a free TX-capable GPIO. I use GPIO17.
The one thing that bites everyone: TX goes to RX and RX goes to TX. The transmit pin on one device connects to the receive pin on the other. If your sensor connects but reports nothing, you have almost certainly got TX wired to TX. Swap the two data wires and it springs to life. I have made this mistake more than once.
The fifth pad, the OUT pin, is a simple digital presence output the module can drive on its own. We are ignoring it because going through the UART gives us the rich per-gate data we need to calibrate. The OUT pin is for people wiring the module straight to a relay with no microcontroller.
Step 2: The ESPHome Config
Here is the part that actually matters. ESPHome has a native ld2410 component, so the config is short. Keep your WiFi and API credentials in your ESPHome secrets.yaml and reference them, never inline them into the device config you might share:
esphome:
  name: office-presence

esp32:
  board: esp32dev

logger:
  baud_rate: 0   # free up the hardware UART for the radar

api:
  encryption:
    key: !secret api_key

ota:
  platform: esphome

wifi:
  ssid: !secret wifi_ssid
  password: !secret wifi_password

uart:
  id: ld2410_uart
  tx_pin: GPIO17
  rx_pin: GPIO16
  baud_rate: 256000
  parity: NONE
  stop_bits: 1

ld2410:
  id: radar

binary_sensor:
  - platform: ld2410
    has_target:
      name: Office Presence

sensor:
  - platform: ld2410
    moving_distance:
      name: Office Moving Distance
    still_distance:
      name: Office Still Distance
    detection_distance:
      name: Office Detection Distance
A few non-obvious things in there. The logger baud rate is set to zero on purpose: the LD2410 wants the hardware UART at 256000 baud, and if you leave the ESPHome logger on the default serial it fights the radar for the port. Turn it off and the radar gets a clean line. The api encryption key and both WiFi values are !secret references, which is both the correct practice (you never commit credentials into a device YAML you might share) and keeps things tidy. Put the real values in your secrets.yaml once and every device can reuse them.
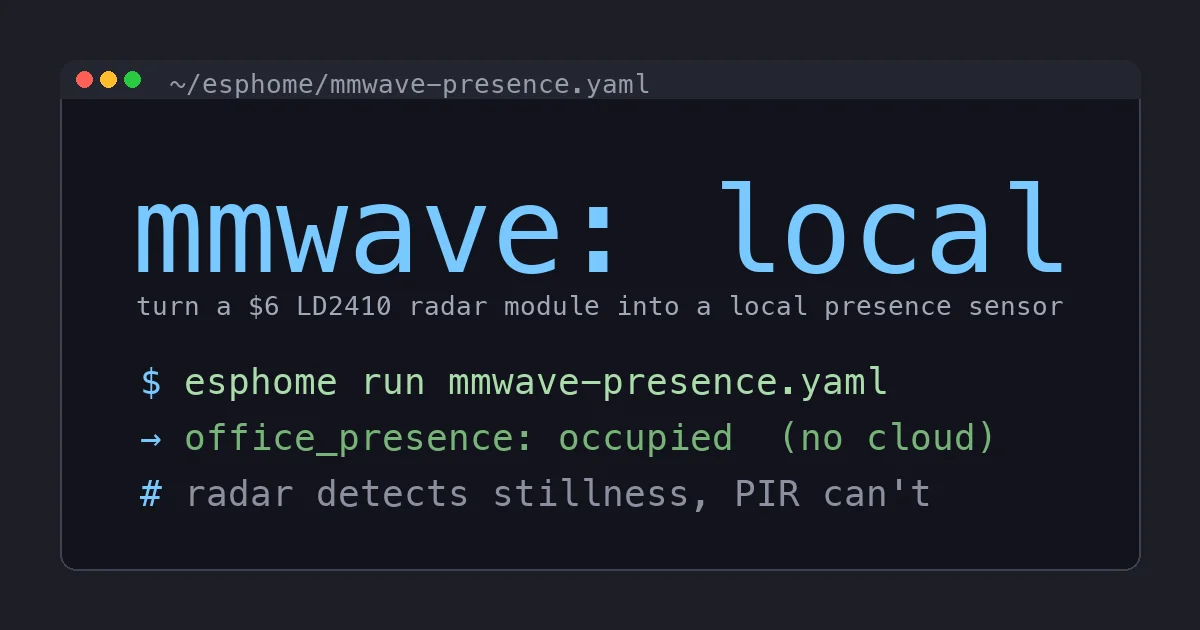
Flash it the usual way:
$ esphome run office-presence.yamlThe first flash is over USB, then OTA updates are wireless forever after. Once it boots and joins WiFi, the device shows up in ESPHome and Home Assistant auto-discovers a binary_sensor for presence plus the distance sensors.
Step 3: Add the Calibration Controls
Out of the box you get presence and distance, but the magic is in the per-gate sensitivity, and ESPHome can expose those as live controls so you tune from the Home Assistant UI instead of reflashing. Add a number and a button block:
number:
  - platform: ld2410
    timeout:
      name: Presence Timeout
    still_threshold:
      name: Still Threshold
    move_threshold:
      name: Move Threshold

button:
  - platform: ld2410
    factory_reset:
      name: Radar Factory Reset
    restart:
      name: Radar Restart
    query_params:
      name: Radar Query Params
Reflash once with these added, and now you have sliders in Home Assistant for the move and still sensitivity, plus a presence timeout. This is the difference between a sensor that works and one that drives you insane.
Step 4: Actually Calibrate the Gates
This is the step every tutorial waves past and every forum thread is secretly about. The LD2410 divides the space in front of it into distance gates, each roughly 0.75 meters deep, out to about 6 meters. For each gate there are two sensitivity values: a move threshold and a still threshold. A target only registers in a gate if the radar energy in that gate crosses the threshold you set.
Read that again, because it is the whole game. The radar is always measuring an energy level per gate. You are setting the bar each gate has to clear. Set the bar too low and a swaying curtain three meters out trips presence. Set it too high and you have to wave your arms to be seen. The defaults are a compromise that fits nobody’s actual room.
Here is the process that works for me:
- Leave the room genuinely empty. Step out, close the door, and watch the per-gate energy values in the ESPHome logs or the Home Assistant sensors. Anything reading high with nobody there is your problem child, usually a fan, a vent, or a window. Note which gate (which distance) is lighting up.
- Raise the still threshold on the noisy gates. If gate 6 reads hot when the room is empty because that is where your ceiling fan is, push gate 6’s still threshold up until it goes quiet. You are telling the radar to ignore motion at that specific distance.
- Now sit in your actual spot. Sit where you really sit, on the couch or at the desk, and stay still like you are reading. Watch whether presence holds. If it drops, lower the still threshold on the gate that covers your seat until you read as present even when motionless.
- Walk the boundary. Walk to where you want detection to stop, the doorway, the edge of the room, and tune the far gates so the sensor does not see the hallway beyond. This is how you stop a living-room sensor from tripping on someone walking past in the kitchen.
- Set a sane timeout. The presence timeout is how long the sensor waits after the last detection before declaring the room empty. I run mine around 15 to 30 seconds. Too short and it flickers, too long and the lights linger after you leave.
Plan on spending twenty minutes the first time. The payoff is a sensor calibrated to your exact furniture and airflow, which is something no off-the-shelf product can do because it has never seen your room.
Step 5: The Automation That Makes It Worth It
With a presence binary sensor that actually tells the truth, the automation is the easy part. The point is that the lights now follow occupancy, not motion, so they stay on while you are still and only drop when the room is genuinely empty.
automation:
  - alias: Office lights follow presence
    trigger:
      - platform: state
        entity_id: binary_sensor.office_presence
        to: "on"
    action:
      - service: light.turn_on
        target:
          entity_id: light.office
  - alias: Office lights off when empty
    trigger:
      - platform: state
        entity_id: binary_sensor.office_presence
        to: "off"
        for: "00:01:00"
    action:
      - service: light.turn_off
        target:
          entity_id: light.office
I add a one-minute for: on the off trigger as a final cushion on top of the radar’s own timeout, because nothing is worse than a presence system that is technically correct and still annoying. Two layers of grace beats one twitchy threshold.
When You Should Just Buy the FP2 Instead
I will be honest about the trade-off, because the DIY path is not for everyone.
The Aqara FP2 is the finished product I recommend to people who do not want to wire anything. It is also 24GHz mmWave, but it adds a genuinely excellent zone editor: you draw rectangles on a map of your room in the app and it reports presence per zone, so one sensor can tell you someone is at the desk versus on the couch. Replicating that multi-zone tracking on a bare LD2410 is real work. The FP2 is wired USB-C, it pairs through HomeKit into Home Assistant, and it just works.
So the honest split is this. If you want one polished sensor for your main living room or office and you value your evening, buy the FP2. If you want to put presence sensing in eight rooms, you enjoy the build, and you want each one tuned to its exact space for the price of a coffee, build LD2410C nodes. I run both. The FP2 watches the living room where zones matter, and a handful of six-dollar LD2410 nodes cover the rooms where I just need a single honest “is anyone in here.”
The Bottom Line
The LD2410 is the cheapest meaningful upgrade you can make to a motion-based smart home. For about six dollars in radar and an ESP32 you already own, you get presence detection that keeps the lights on while you sit still, which is the one thing every PIR sensor fails at. The wiring is four jumpers, the ESPHome config is twenty lines, and it is fully local with no cloud account and no extra coordinator.
The catch, and the reason most people give up on these, is the gate calibration. Budget twenty minutes to walk your empty room, tame the noisy gates, and tune the timeout, and you end up with a sensor fitted to your exact furniture and airflow that no boxed product can match. If that sounds like too much fiddling, the Aqara FP2 is the buy-it-and-forget-it answer with a zone editor worth the premium. But if you want to understand your house and pepper it with cheap honest sensors, the LD2410 and ESPHome are hard to beat.