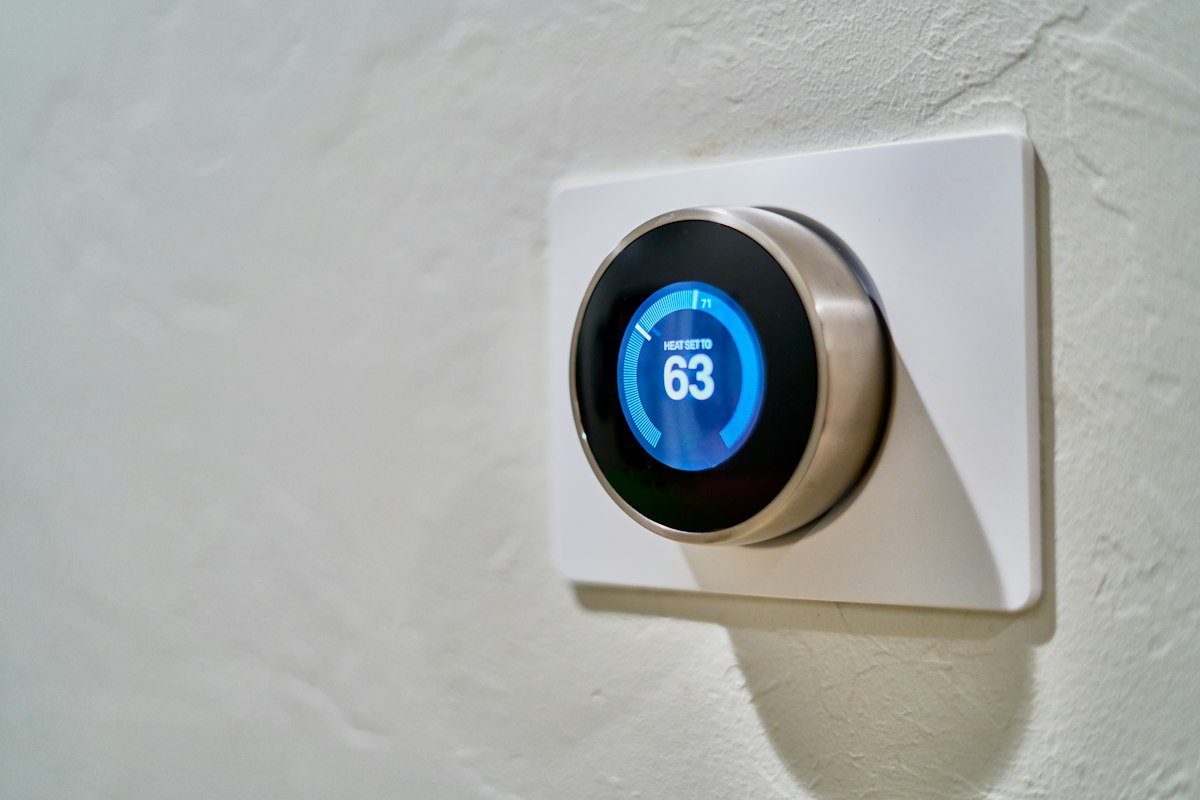
Ecobee is one of the few smart thermostats left that doesn’t actively make my life worse. The hardware is solid, the remote sensors are genuinely useful, and unlike a certain G-branded competitor, Ecobee has not yet decided to break local API access in the name of “modernization.” That makes it the easy default if you want a thermostat that plays well with Home Assistant.
This is the setup I run, end to end. Hardware, integration, sensors worth exposing, and the three automations that actually pay for themselves.
What You Need
- An Ecobee Smart Thermostat Premium (or the SmartThermostat with Voice Control — the integration is the same)
- One or more Ecobee SmartSensors — at minimum one per bedroom you care about
- A Home Assistant instance, any flavor (HAOS, Container, Supervised)
- An Ecobee developer account (free; you’ll need it for the API key)
The Premium adds a built-in air-quality sensor and proximity wake. If you don’t care about those, the standard Smart Thermostat works identically as far as Home Assistant is concerned. The SmartSensors are the real magic — they let Ecobee average temperature across rooms instead of just where the thermostat happens to be installed in the hallway.
Step 1: Get an Ecobee API Key
This is the part most guides skip and most users get stuck on.
- Sign in at developer.ecobee.com with the same email as your thermostat account.
- Click Create New App.
- Give it any name (
home-assistantis fine). - Authorization Method: PIN.
- Save the API Key that gets generated.
Keep that browser tab open. You’ll need the key in a minute and you’ll also need to come back here to authorize a PIN.
Step 2: Add the Ecobee Integration
In Home Assistant:
- Settings → Devices & Services → Add Integration.
- Search for Ecobee.
- Paste your API key when prompted.
- Home Assistant generates a four-digit PIN.
Now go back to the Ecobee developer site, click your app, and Add Application using that PIN. You have nine minutes before it expires.
Back in Home Assistant, click Submit and the integration finishes pairing. You should now have:
- A
climate.<your_thermostat_name>entity - A
binary_sensor.<your_thermostat>_occupancyfor the thermostat itself - A
sensor.<your_thermostat>_temperatureand humidity sensor - For each SmartSensor: a temperature sensor and an occupancy binary sensor
That’s it. No port forwarding, no MQTT, no cloud relay setup. The Ecobee cloud API is officially supported and reasonably stable.
Step 3: Expose the Sensors That Matter
By default Home Assistant pulls every Ecobee entity into the registry, which is too much. The ones you actually want in your dashboards and automations:
- Each SmartSensor’s temperature — for room-by-room awareness
- Each SmartSensor’s occupancy — these are surprisingly good motion sensors and are free
- The thermostat’s current mode (
climate.xstate) — heat, cool, auto, off - The thermostat’s setpoints —
climate.xattributestarget_temp_lowandtarget_temp_high - Outdoor temperature — Ecobee reports this via its weather API; it’s a sensor attribute. Useful as a sanity check against your other weather sources.
Skip the equipment status binary sensors unless you’re doing HVAC runtime analytics. They’re noisy and most people don’t act on them.
Step 4: Three Automations Worth Building
The thermostat is now controllable from HA. The interesting question is what you do with it. These three are the ones I’d build first.
1. Use SmartSensor occupancy for follow-me comfort
Ecobee already does this in-app — averaging temperature across “occupied” rooms — but the in-app version is a black box and applies to your whole schedule. With Home Assistant you can do it conditionally.
Example: at night, weight the temperature average toward the bedrooms. During the day, weight it toward the living room and office. This eliminates the classic Ecobee complaint of “the bedroom is freezing because the hallway thermostat is reading 72°.”
- alias: "Switch comfort profile at bedtime"
  trigger:
    - platform: time
      at: "22:30:00"
  action:
    - service: ecobee.set_climate_hold
      data:
        entity_id: climate.downstairs
        climate: "Sleep"
ecobee.set_climate_hold lets you call any of the comfort profiles you’ve defined in the Ecobee app. Define them in the app, trigger them from HA.
2. Pre-cool/pre-heat from solar or weather forecast
If you have a weather integration (PirateWeather, Met.no, AccuWeather) you can pre-condition the house before a forecast spike. I run a simple one: if tomorrow’s high is forecast above 90°F, drop the setpoint by 2° between 4 and 6 a.m. while electricity is cheap and the house can hold the cold.
- alias: "Pre-cool before hot day"
  trigger:
    - platform: time
      at: "04:00:00"
  condition:
    - condition: numeric_state
      entity_id: sensor.tomorrow_high_f
      above: 90
  action:
    - service: climate.set_temperature
      data:
        entity_id: climate.downstairs
        temperature: 70
    - delay: "02:00:00"
    - service: climate.set_temperature
      data:
        entity_id: climate.downstairs
        temperature: 74
3. Vacation mode without using Ecobee’s vacation mode
Ecobee’s built-in vacation feature is fine but rigid. You set a date range, it picks setpoints. Easier to just have a Home Assistant input boolean home_mode (Home / Away / Vacation) and have your climate scripts react to it. When home_mode is Vacation, the thermostat goes to a wide deadband (60°F heat / 85°F cool) and ignores schedule. When you flip it back to Home from your phone on the way back, the thermostat is already in its normal mode by the time you walk in.
What About HomeKit / Matter?
The Premium supports HomeKit out of the box. Matter support is rolling in via firmware updates. You can pair it to HomeKit and Home Assistant simultaneously — they don’t conflict. I run both. HomeKit handles voice control through Siri on the HomePods; HA handles the automations.
Skip the Ecobee Matter pairing for now if you already have the cloud integration working. The cloud integration exposes more sensors and supports ecobee.set_climate_hold; Matter just gives you the thermostat as a generic climate entity. You can always switch later.
The Bottom Line
The Ecobee Smart Thermostat Premium plus a few SmartSensors is the easiest path to a thermostat that does what you want it to do, not what the manufacturer’s app thinks you should want. The Home Assistant integration is official, stable, and exposes enough surface area to build the automations that actually matter — pre-conditioning, occupancy-aware setpoints, and a single home/away/vacation toggle that the whole house responds to.
If you’re starting a Home Assistant smart home from scratch and need a thermostat, this is the one I’d buy again without thinking. And if you’d rather cut the cloud out entirely, my best local thermostat for Home Assistant guide covers the fully-offline Z-Wave route instead.